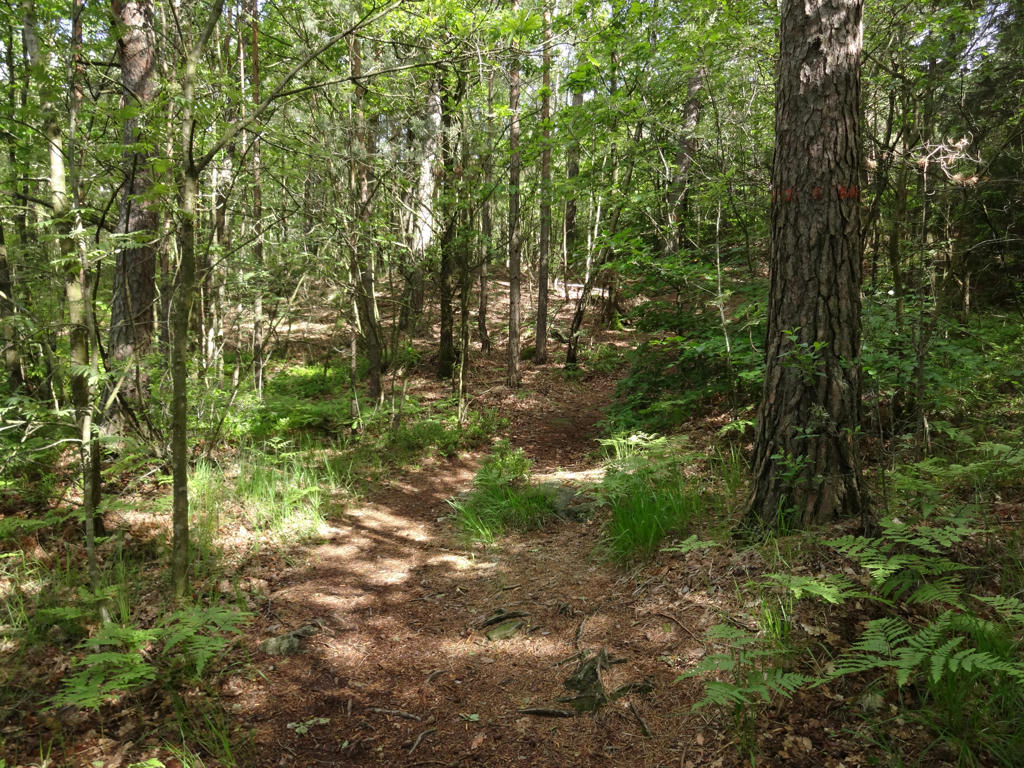
After a bit more than a week of resting my shoulders (see Bergslagsleden Walk #1 between Ramundeboda and Gråmon) I decided to return to the walks. This time I traveled to Skillingaryd to continue the Höglandsleden walks. I first took the train to Värnamo and then waited there for almost 1h for the bus that replaced the train to Skillingaryd. In total the travel time was 4h7mins. From the bus station in Skillingaryd I walked about 1.4km to the Höglandsleden trail. Then I walked Höglandsleden for about 31.2km (until slightly east of Hok, near Hokån). From there I walked about 2km to reach the train station in Hok. Overall the walk was about 34.6km in total and took me 8h43min to complete. Thus my average speed was about 3.97km/h. I walked slower at first but later I sped up my walking as I wanted to make it on time for the train from Hok (and not wait for a later train), which I did, I arrived 9 minutes before the train. In Hok I took the train to Nässjö and in Nässjö I took the train to Falköping. Finally in Falköping I took the train back to Göteborg. In total the travel back took 4h9mins.
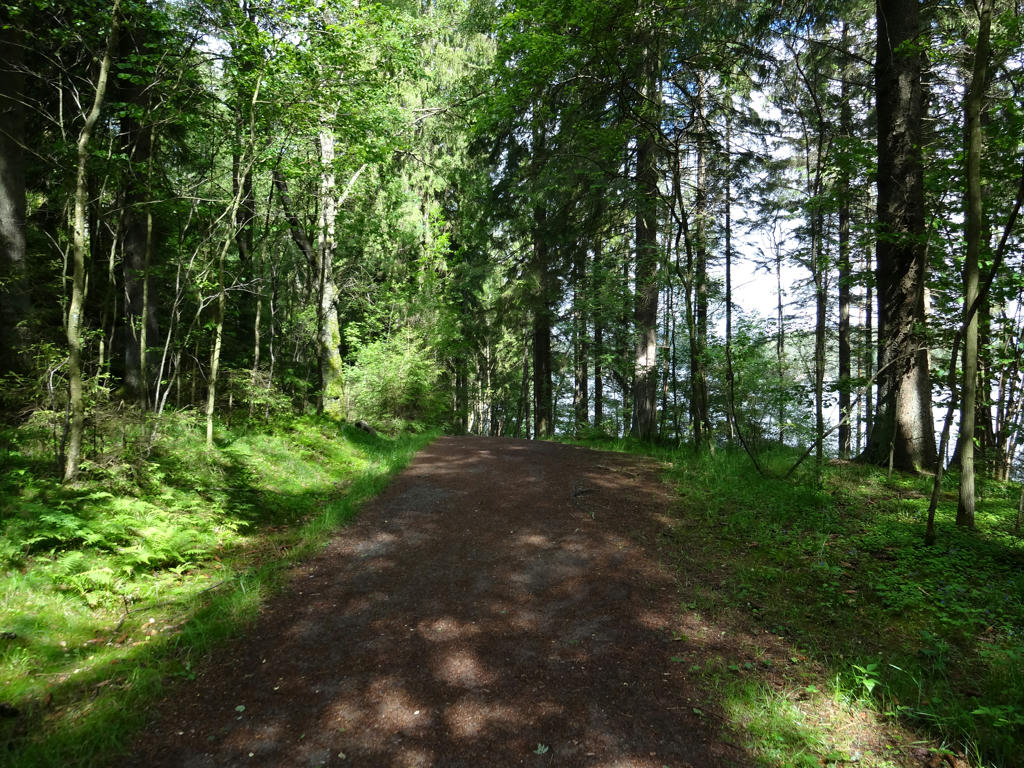
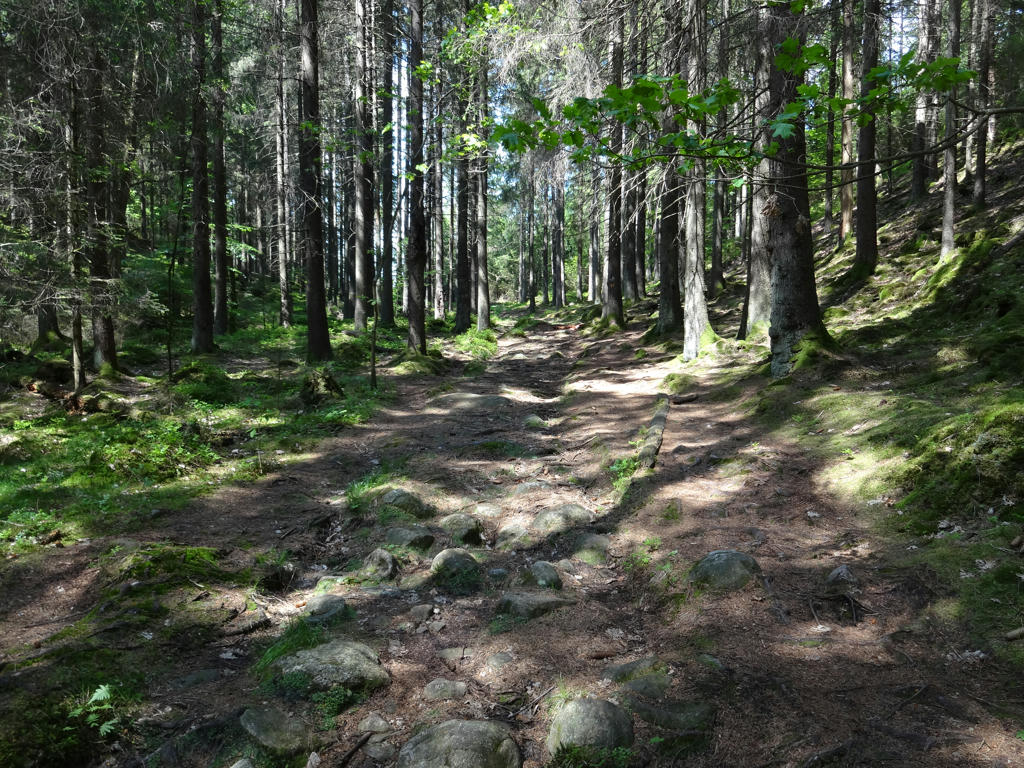
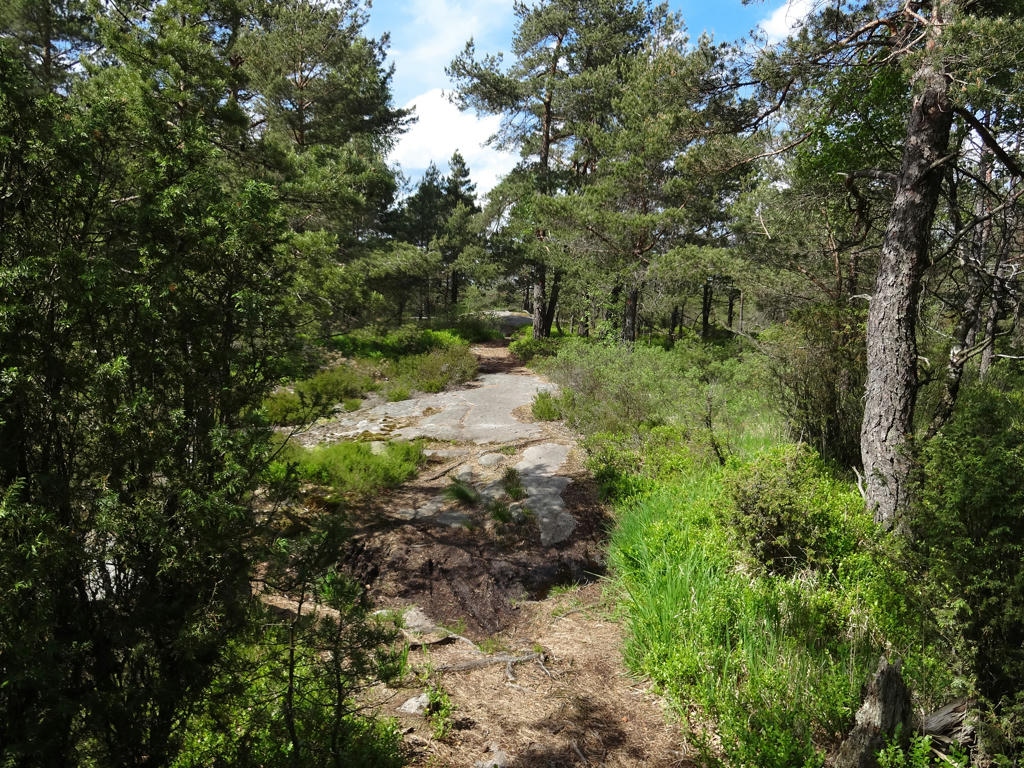
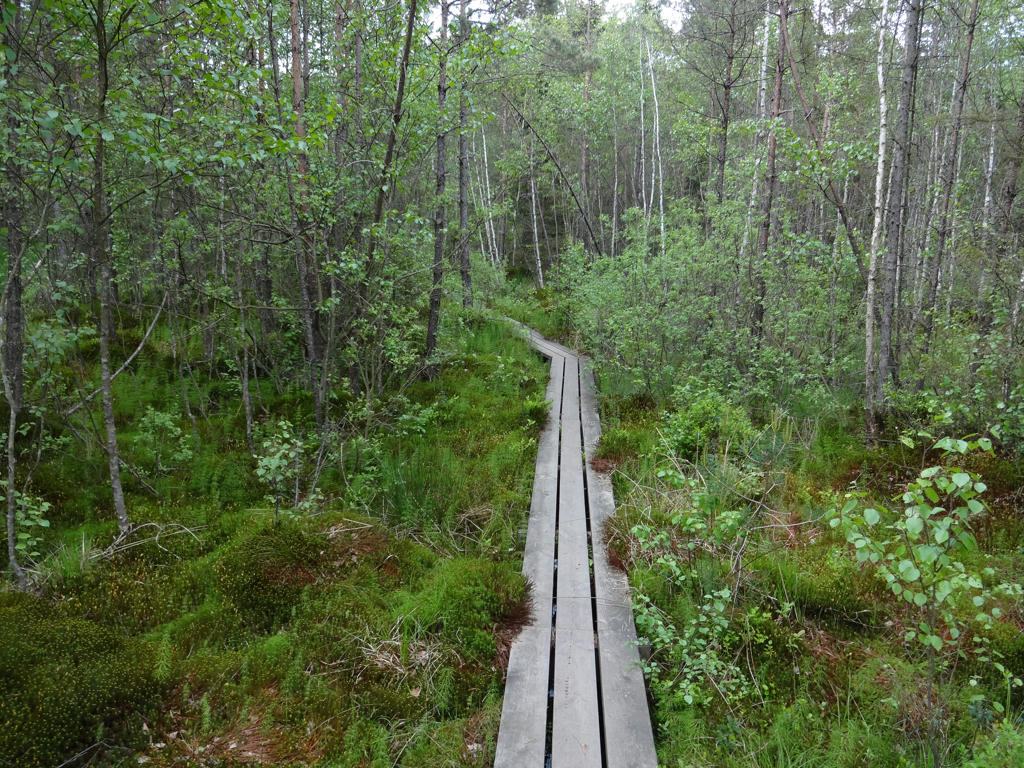
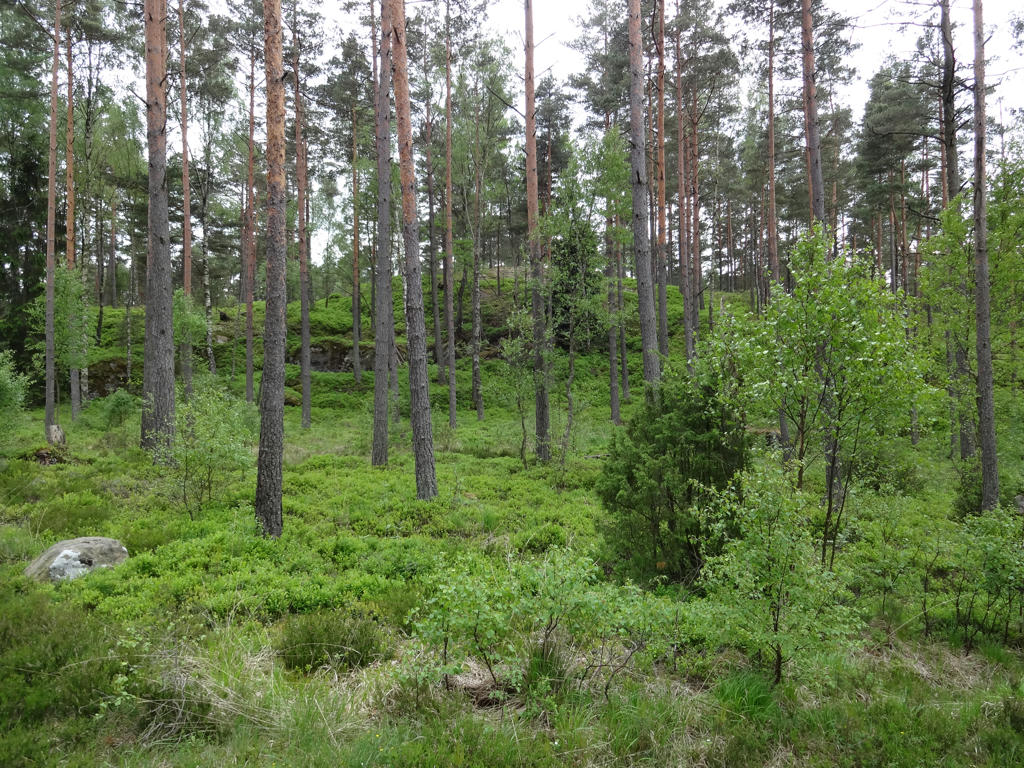
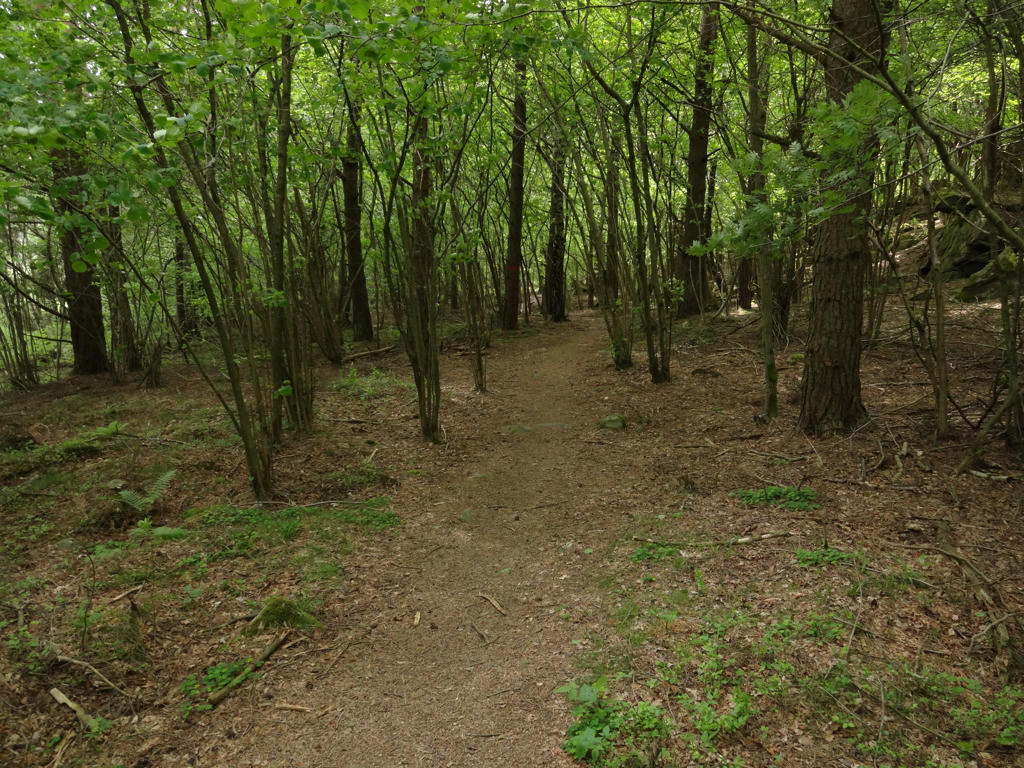
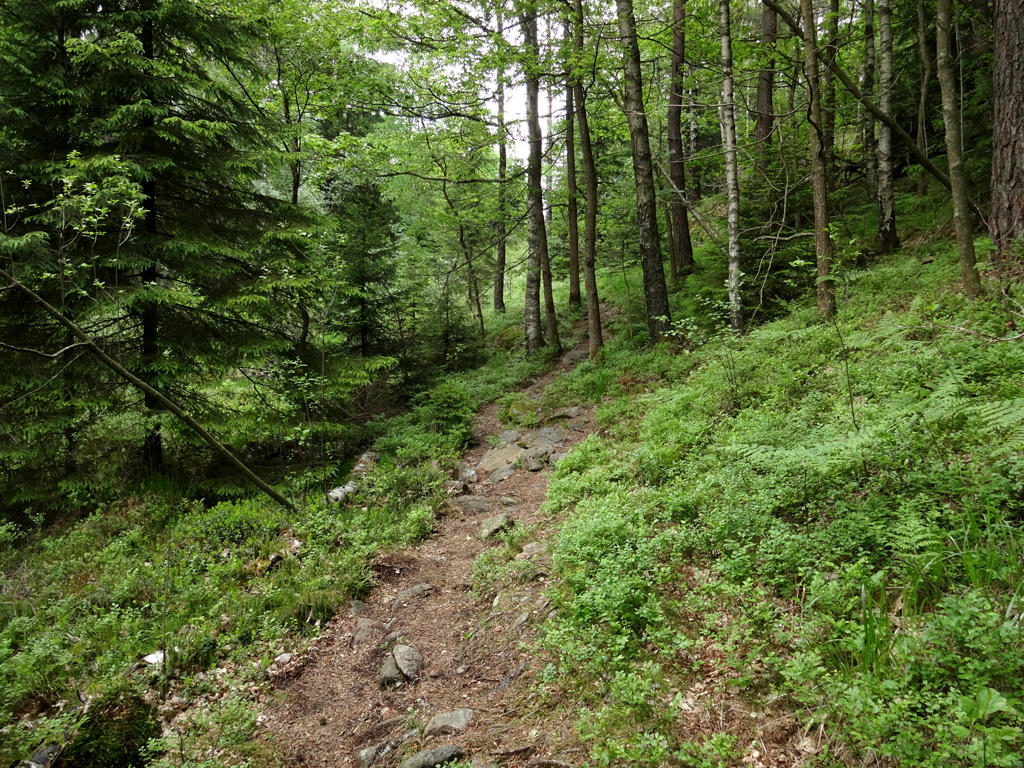
In any case, this was probably the most interesting of the Höglandsleden walks. The walk goes to a large extent through small scale farm land and there are many beautiful meadows on the path. There are also beautiful segments going through fine sand forests (tallmo/moskog). In addition there are several beautiful lakes by the trail. Either way, most of the trail goes on gravel roads, tractor roads or asphalt roads, rather than on footpaths. This didn't make things less interesting and instead it enabled me to increase my walking speed (which I've mentioned above). Finally it can be noted that the weather started off as cloudy and there was also a tiny bit of drizzle (duggregn). However, over the course of the walk the weather improved. I don't remember what the temperature was but I think it was relatively warm. Anyways, the photos are shown below. Enjoy!
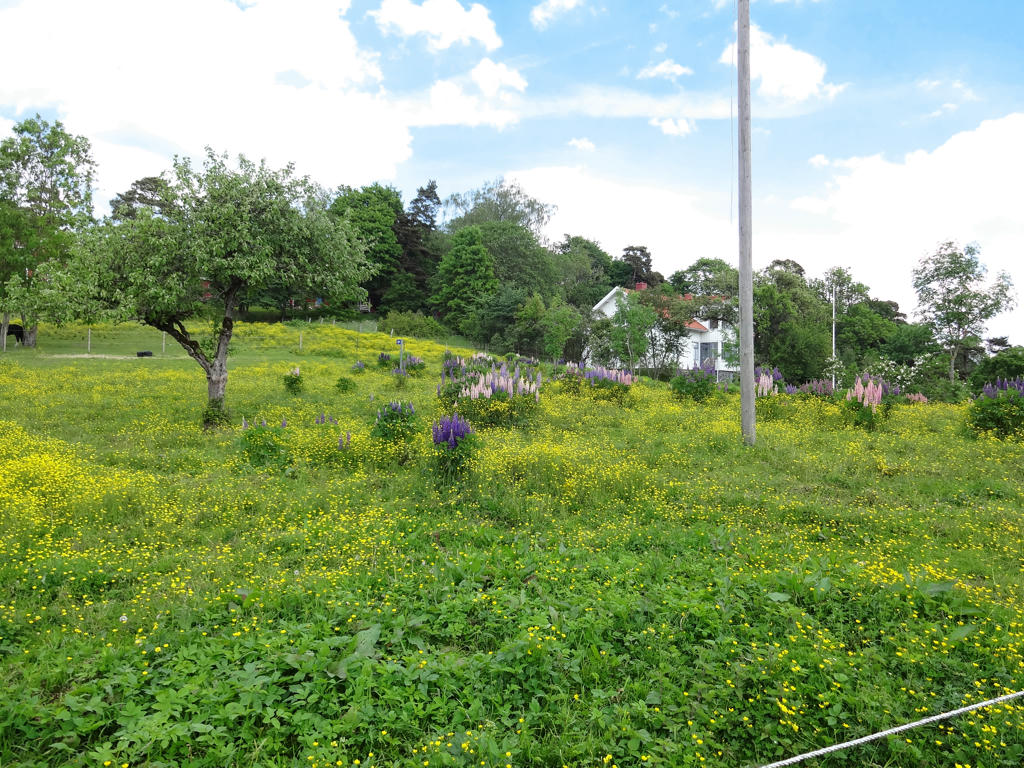
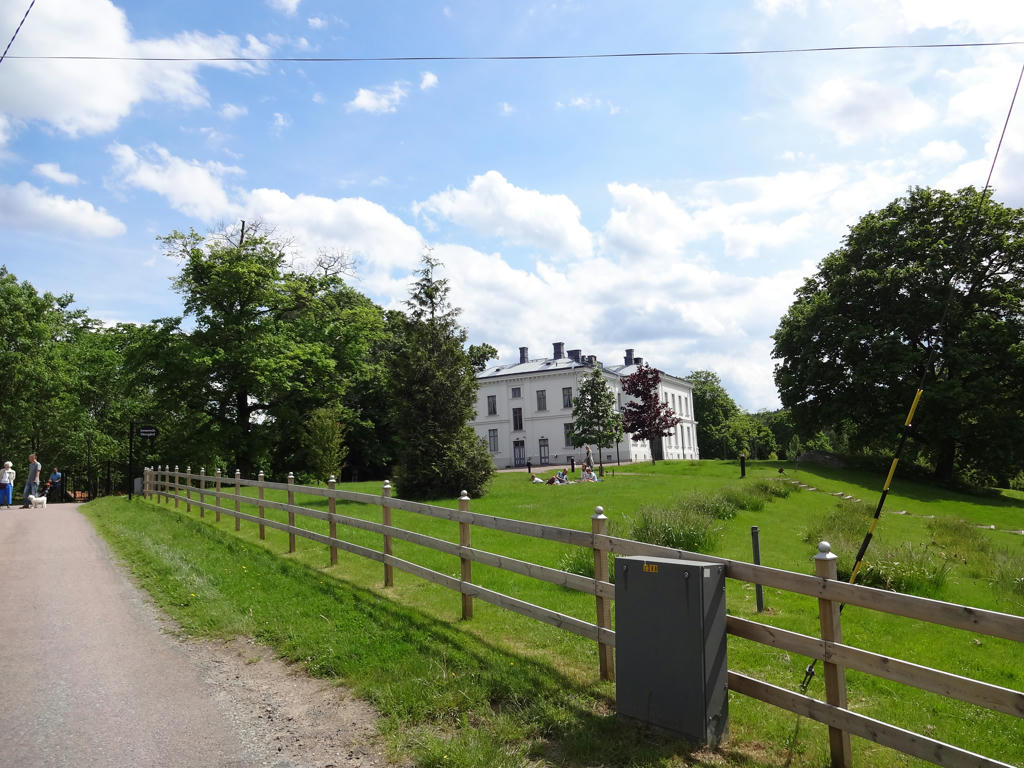
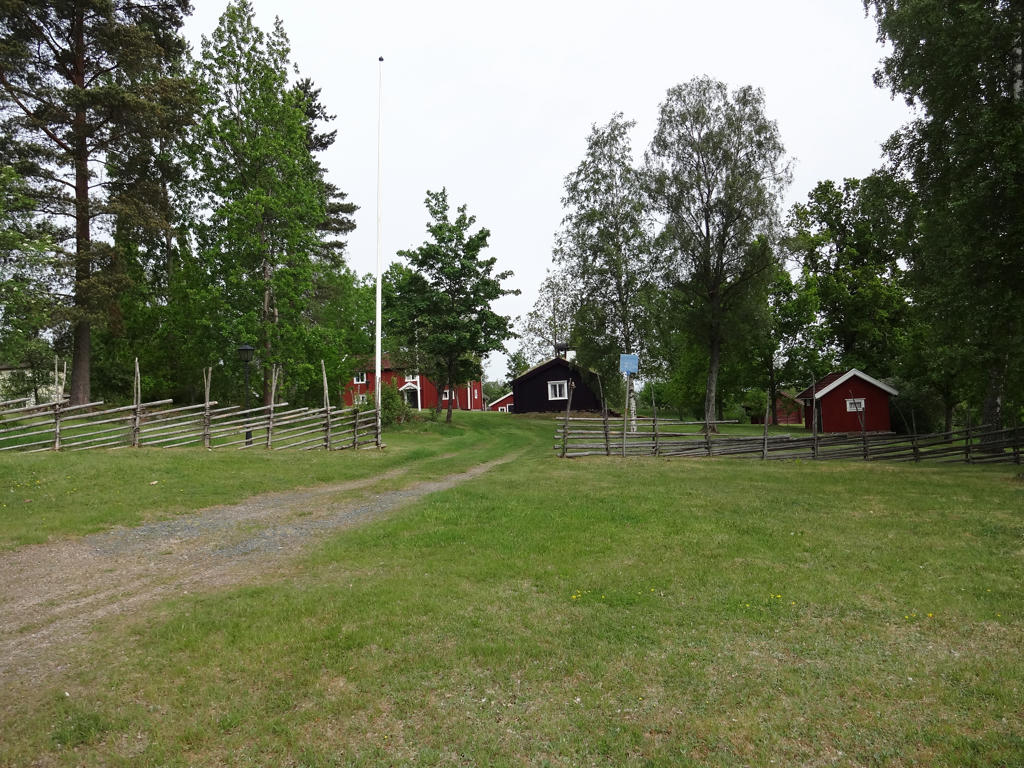
1.
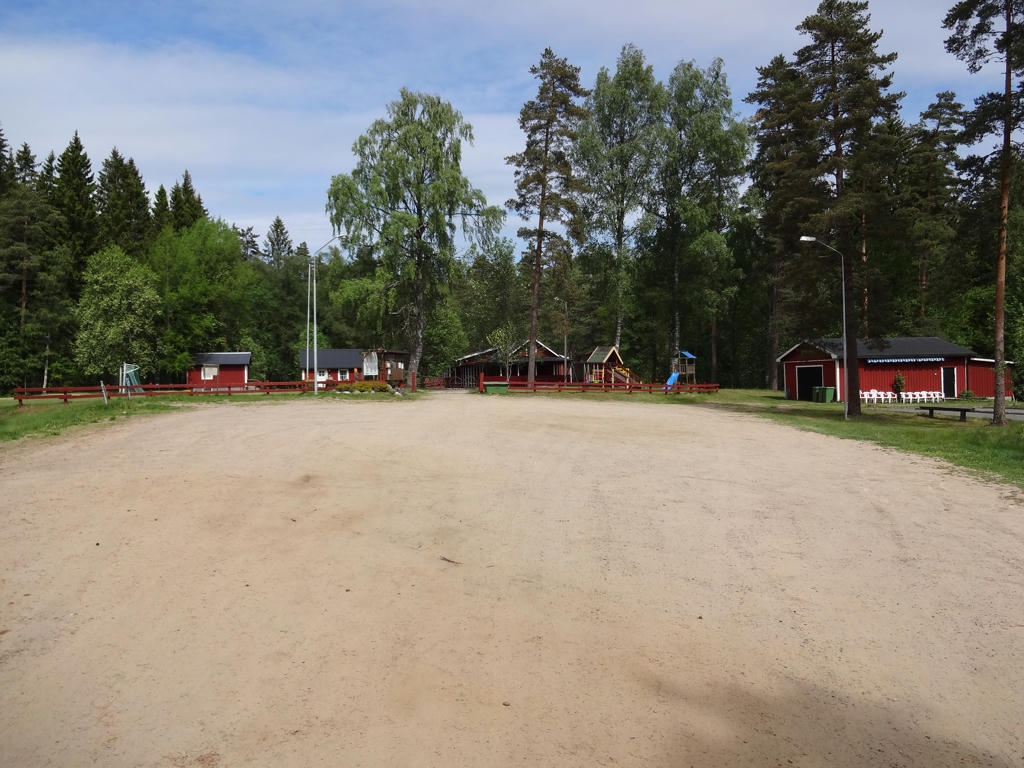
Hembyggdsparken (native environment park) in Skillingaryd. Brighetened the non-sky parts slightly using the levels tool.
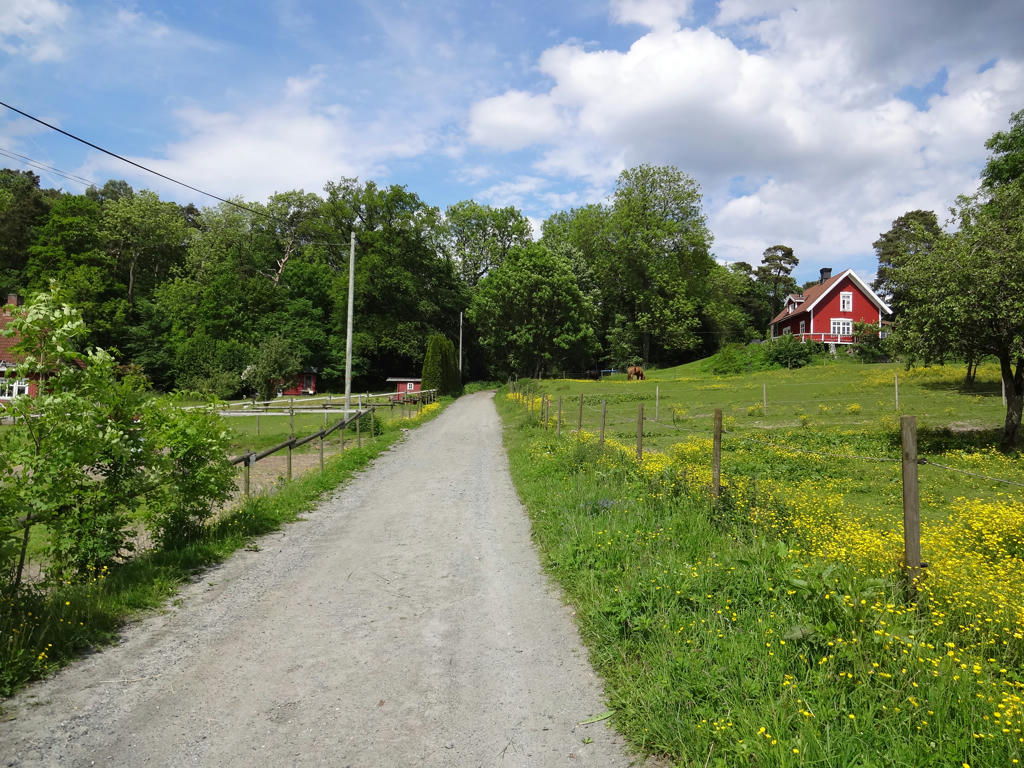
2.
Sharpened the photo slightly using unsharp mask. Also slightly increased the contrast and brightness using the Brightness-Contrast tool.
3.
Hares. Rotated the photo slightly and cropped it.
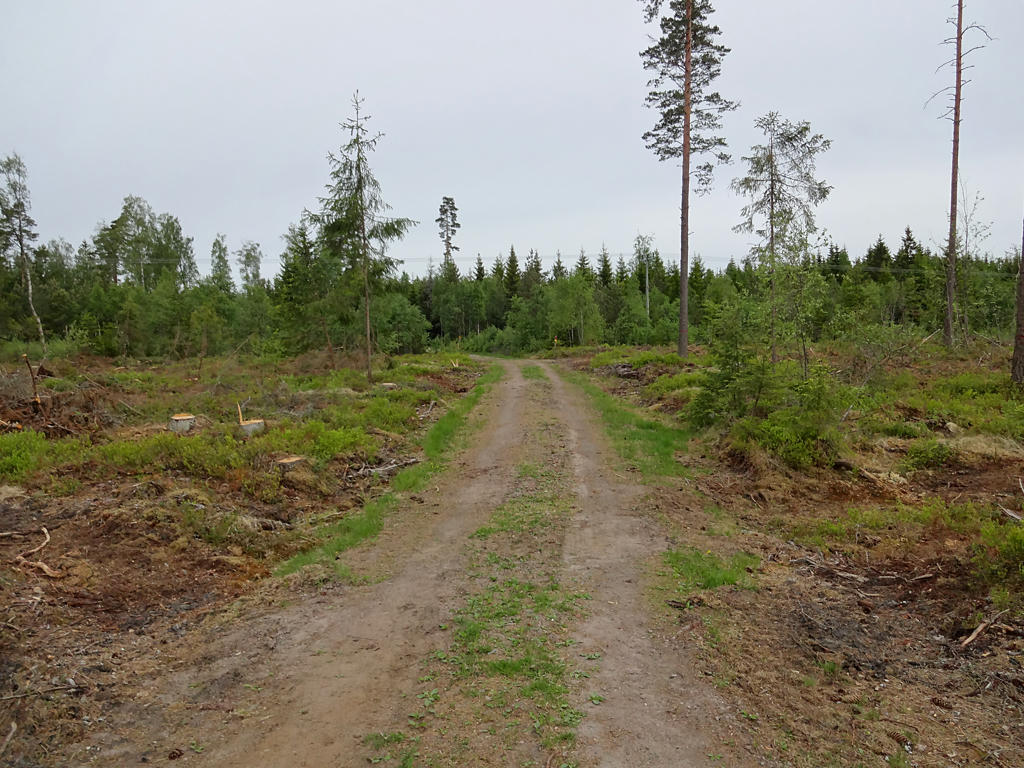
4.
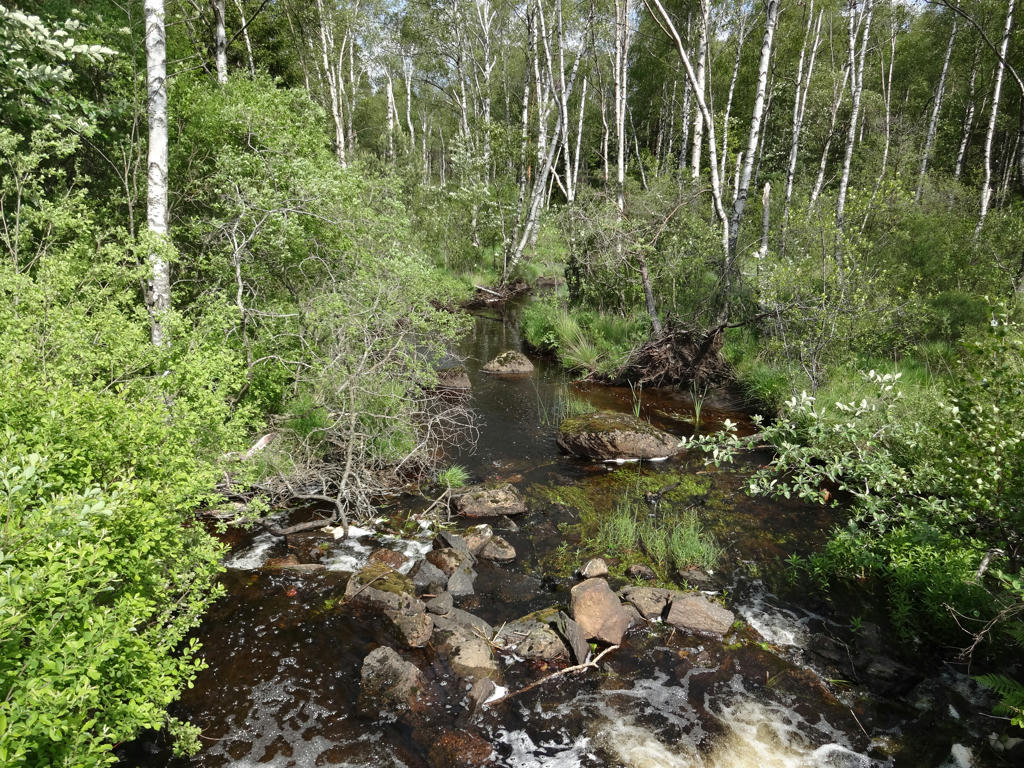
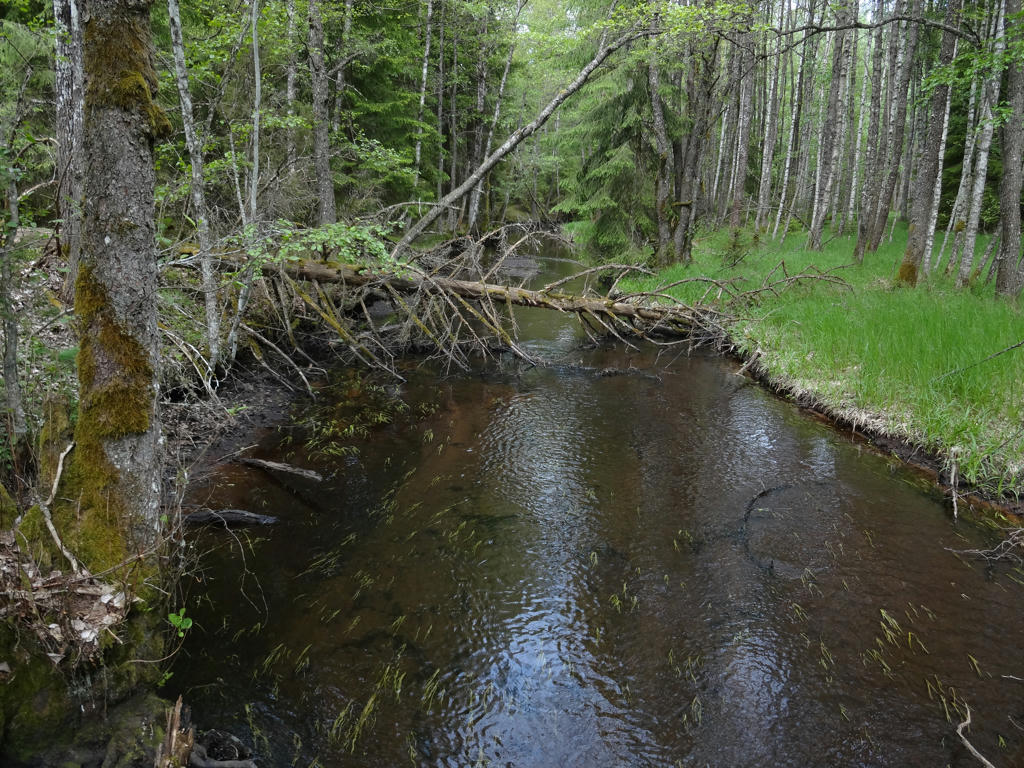
5.
Duveledsbäck. Slightly increased the contrast for the non-sky parts.
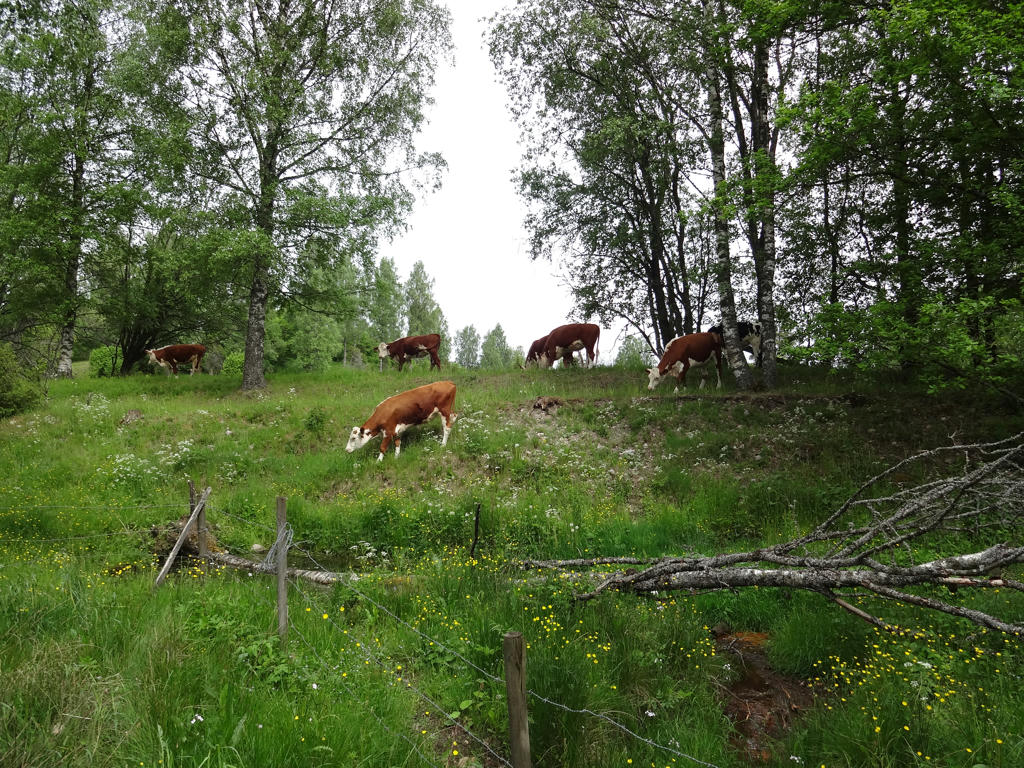
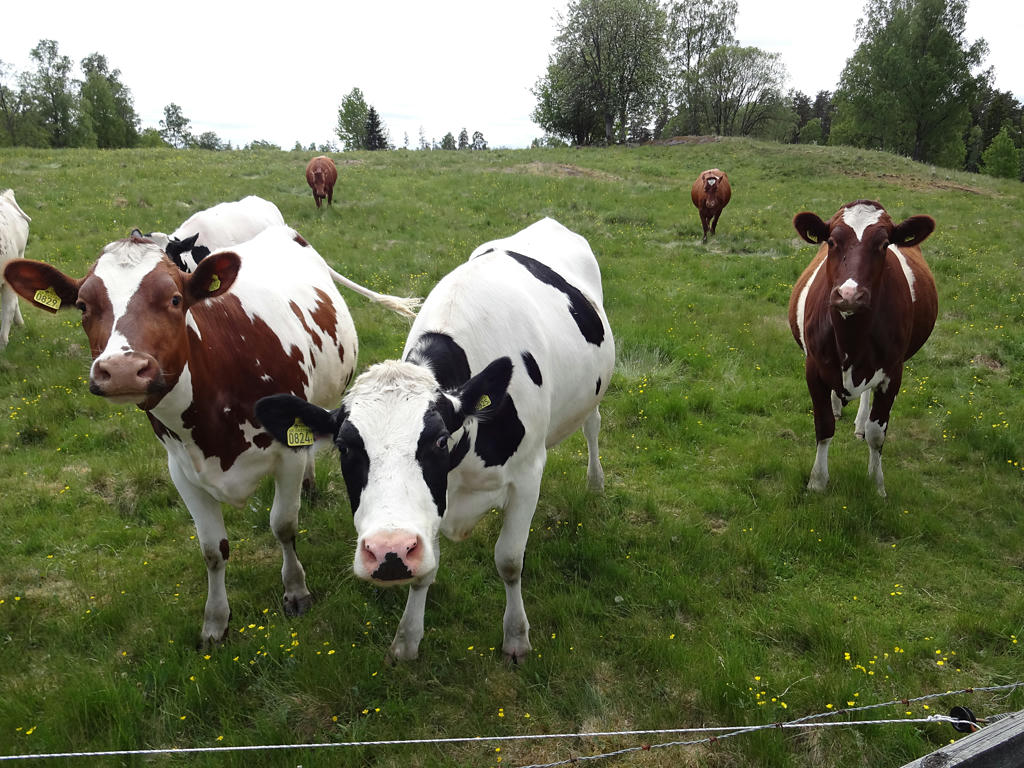
6.
Grazing cattle at Södra Duveled.
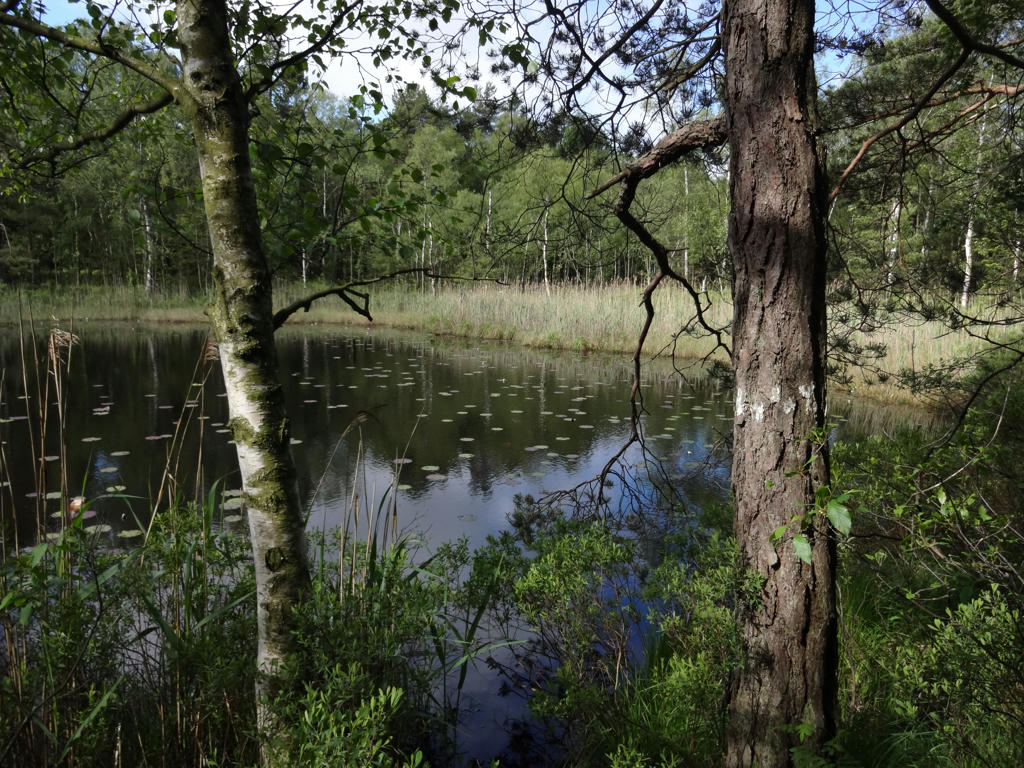
7.
Small lake (or possibly pond) at Södra Duveled. Rotated and cropped the photo. Also used the Brightness-Contrast tool to increase the contrast and brightness for the non-sky parts. Finally I sharpened the photo slightly using unsharp mask.
8.
Flowers at Södra Duveled.
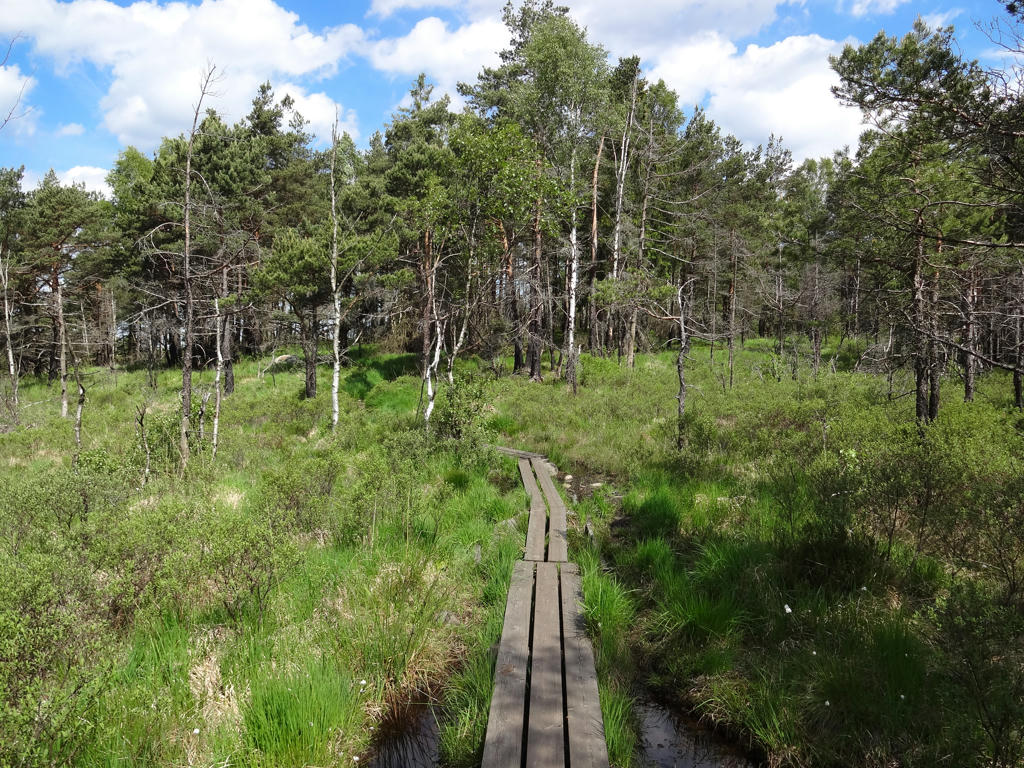
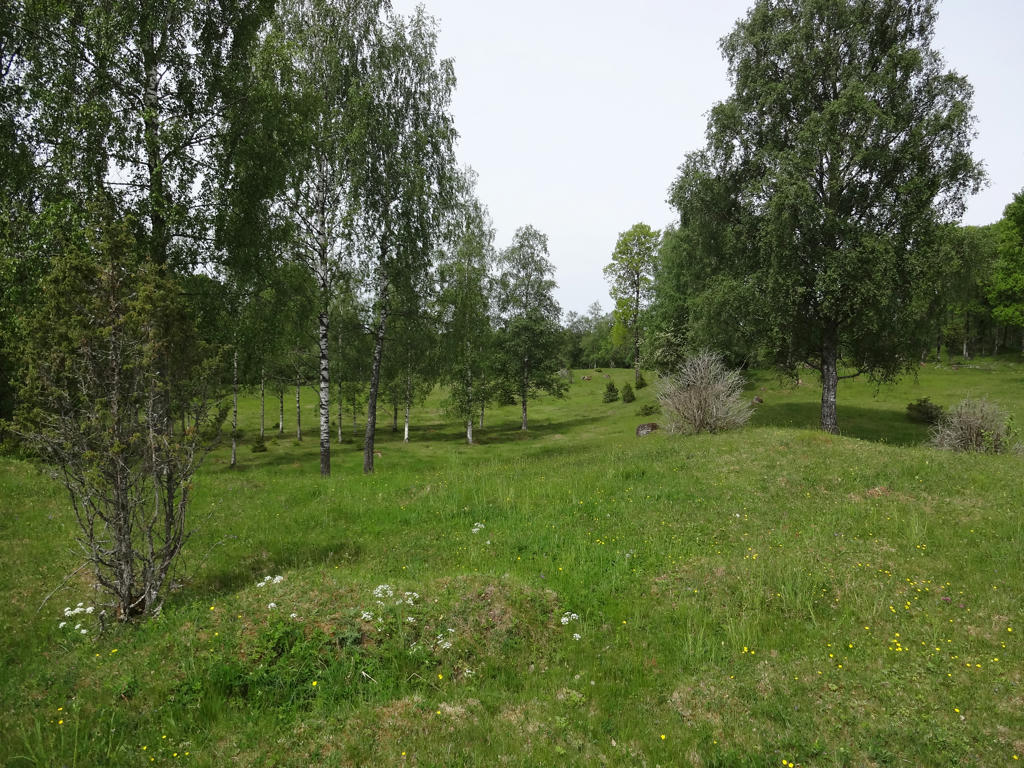
9.
10.
Brightened the non-sky parts slightly using the curves tool.
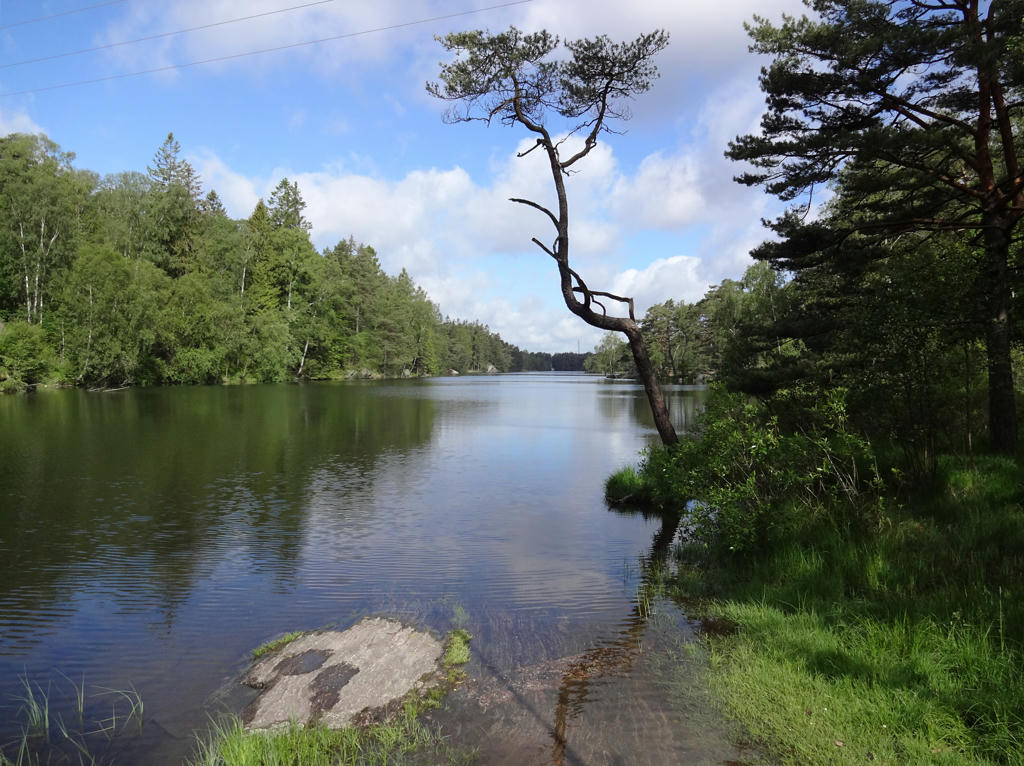
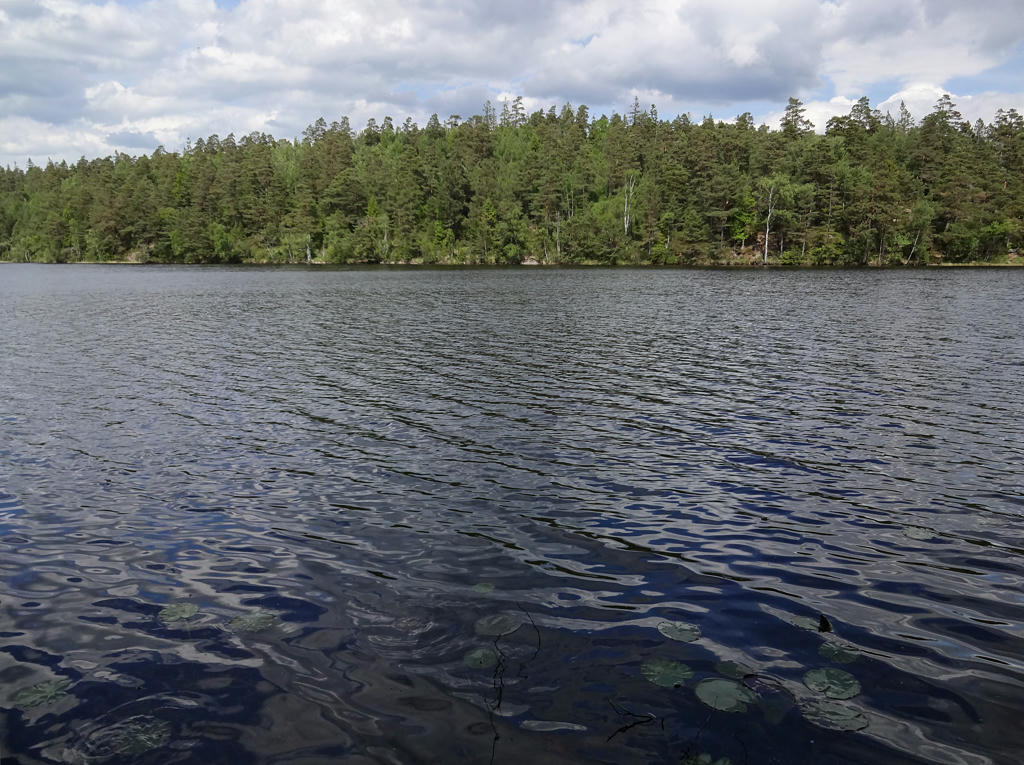
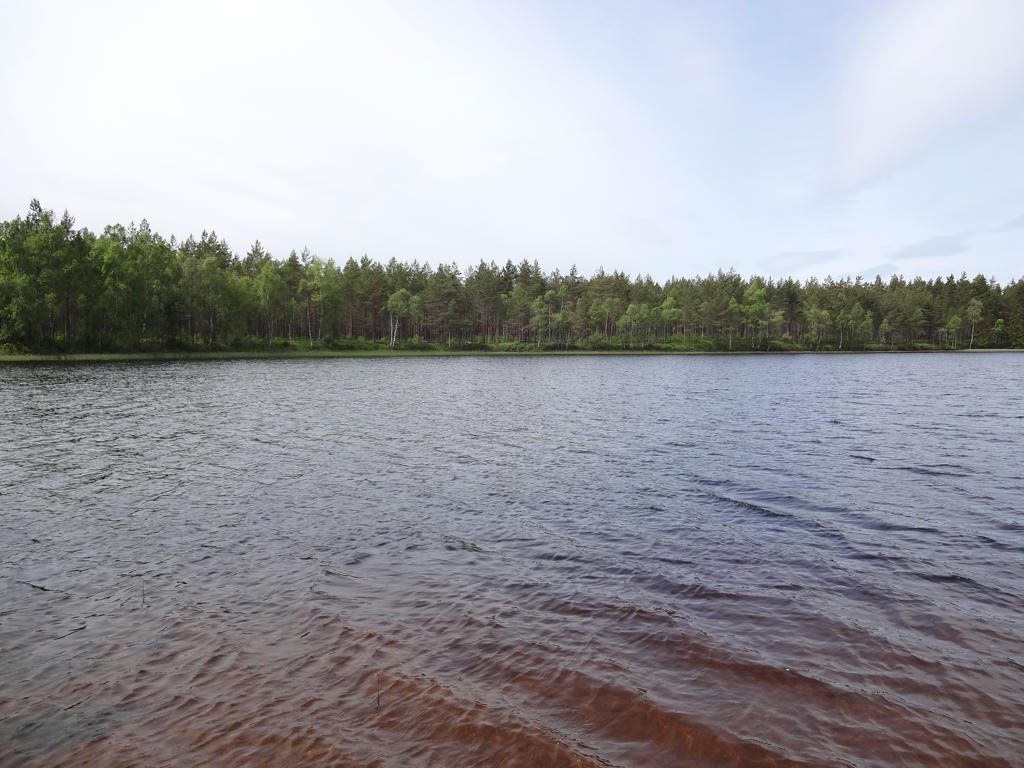
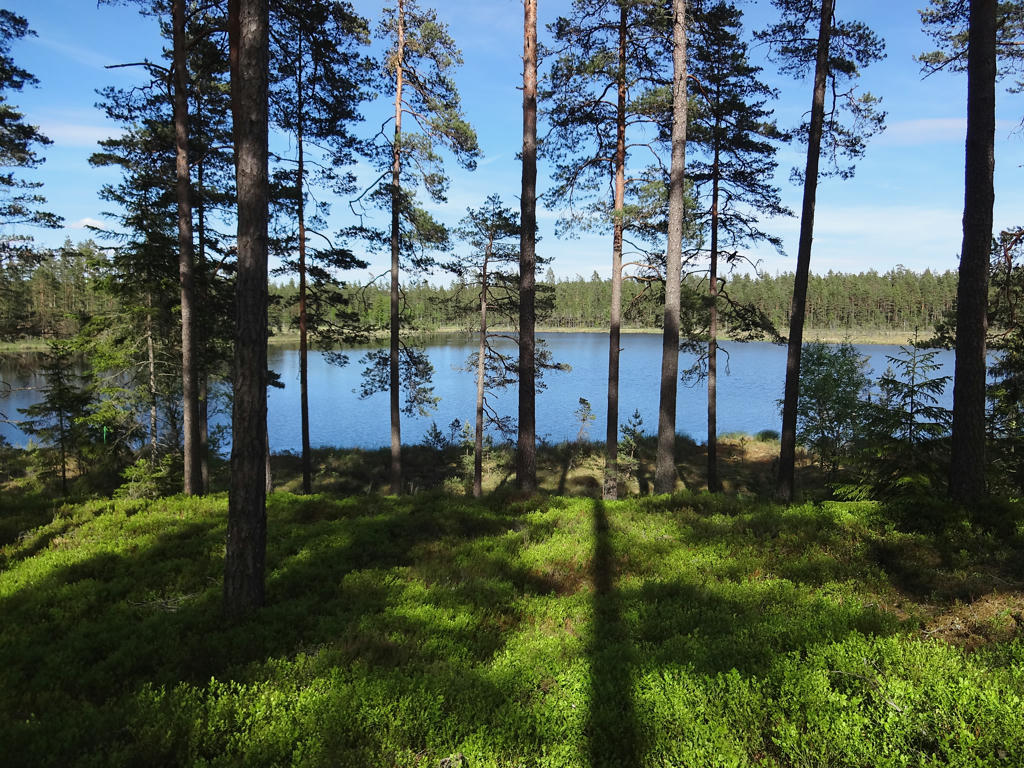
11.
Skogshyltasjön. Darkened the sky slightly using the curves tool.
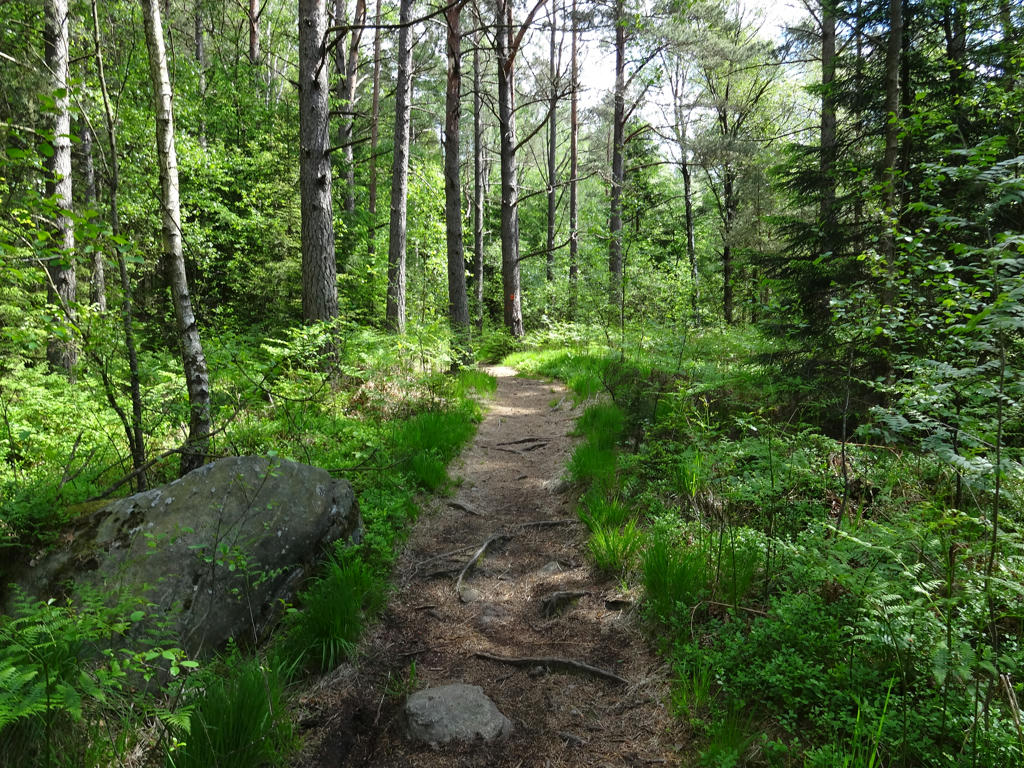
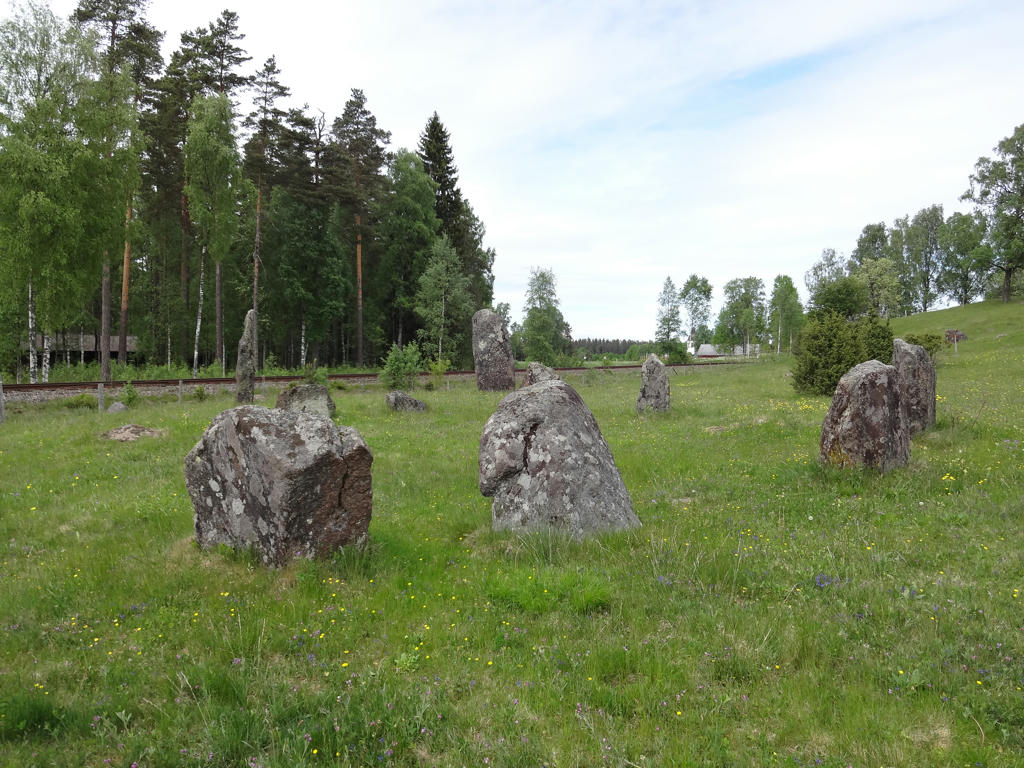
12.
13.
Berget. Darkened the sky slightly using the levels tool.
14.
15.
Sharpened the photo slightly using unsharp mask.
16.
Sharpened the photo slightly using unsharp mask. Also darkened the sky slightly using the levels tool.
17.
Stödstorps kvarn (Stödtorp's mill). Stödtorpaån can be seen in the background. Sharpened the photo slightly using unsharp mask. Also slightly increased the contrast and brightness using the Brightness-Contrast tool.
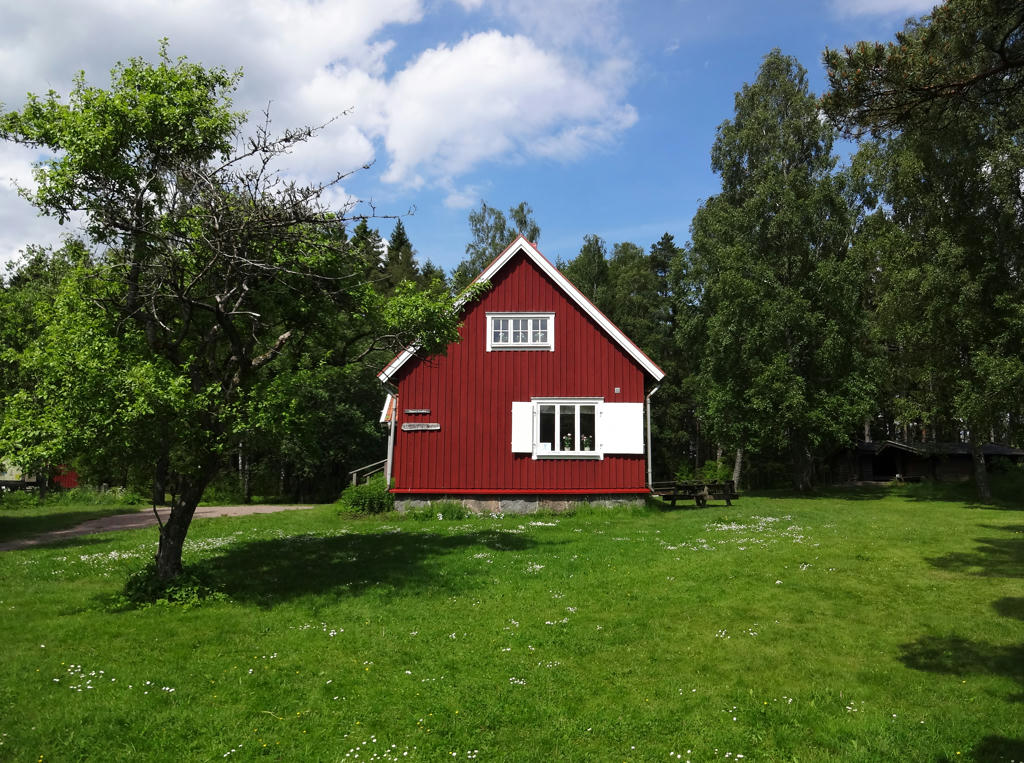
18.
Bäckalyckan
19.
Common chaffinch. Slightly reduced the effect of the blue and green channels using the levels tool.
20.
21.
Gnyltån
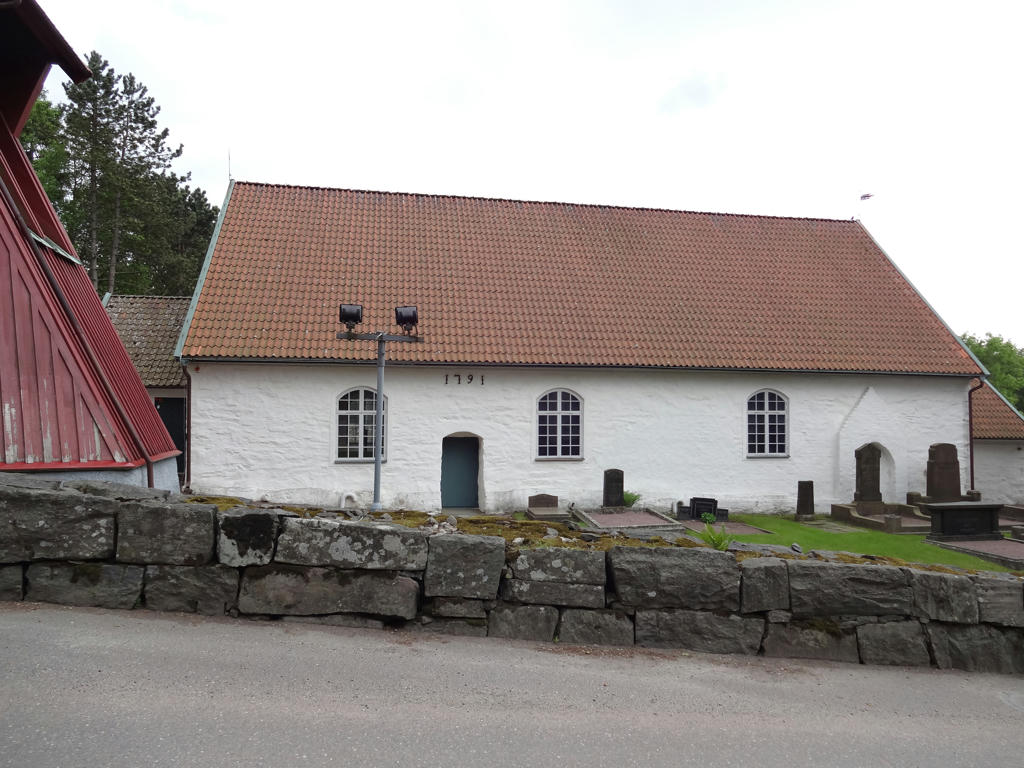
22.
Byarums hembygdsgård
23.
Used the hue restorer plug-in to get rid of the cyan-ish sky color. Also rotated the photo slightly and cropped it.
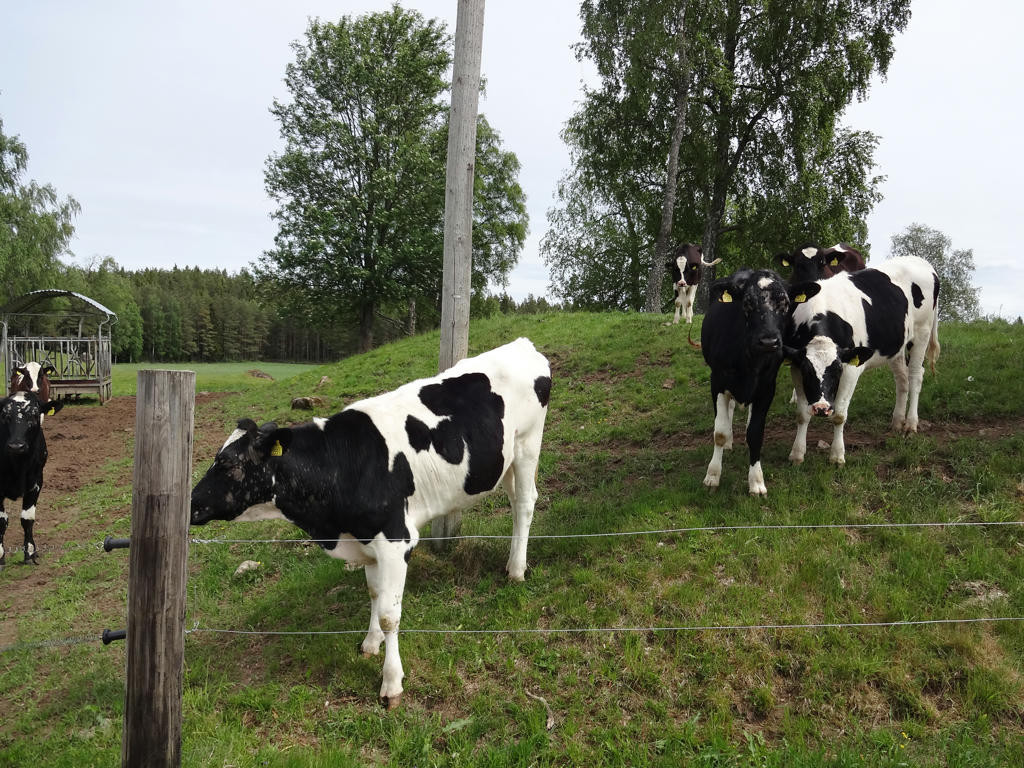
24.
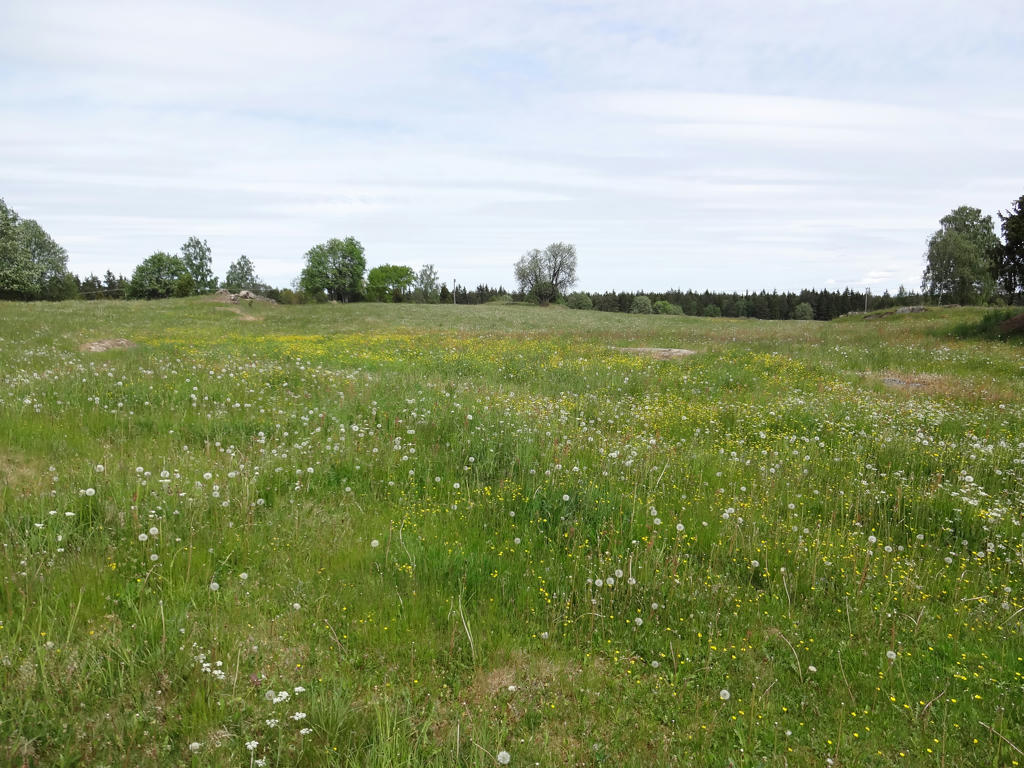
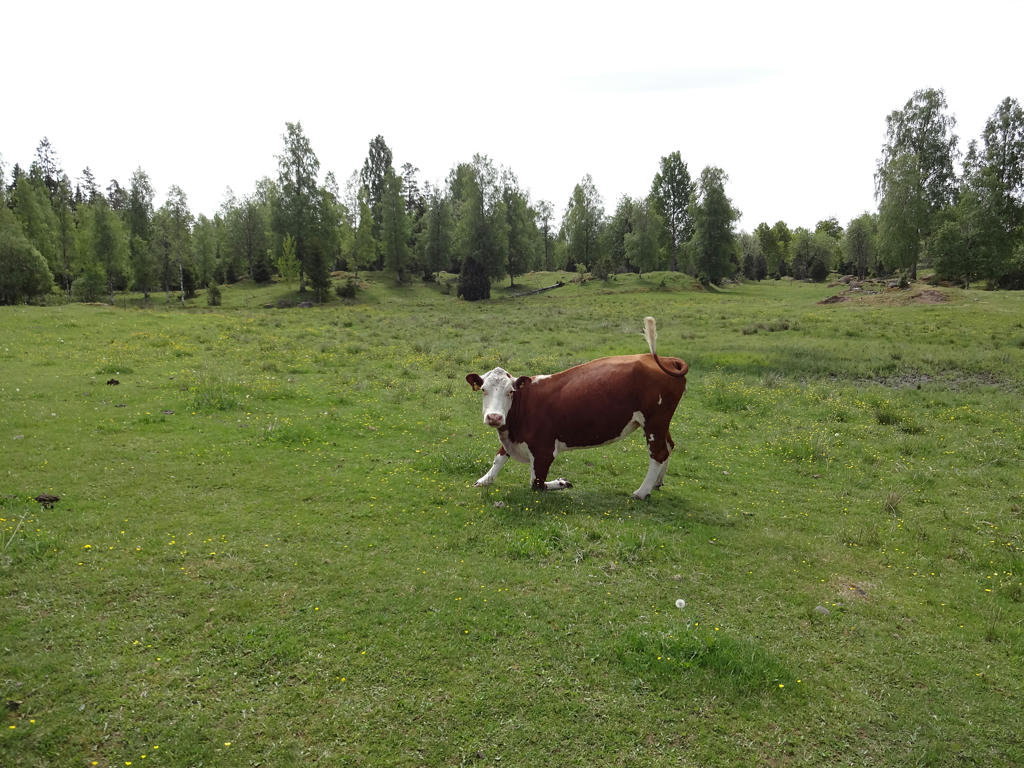
Grazing cattle at Gärahov storäng
"Gärahov storäng is an ancient landscape which bears witness to the farming practices of bygone days, when the meadows nourished the earth. The fodder that the farmers would find in the meadow was essential for the animals to survive the winter. If the animals had a good amount of hay from the meadow, then they also produced more manure to be spread onto the fields. Pasture and mowing of the meadows is a prerequisite for the preservation of many plants.
There is a great variety of plants in the area. Species such as meadow oat-grass, quaking-grass, peach-leaved bellflower, cowslip and common rock-rose grow here. The common milkwort, oxeye daisy, globeflower as well as both lesser and greater butterfly-orchid are also commonly occurring species. On the meadow you can also find wolf's bane, cat's foot, Breckland thyme and viper's-grass. Some of the rarities include the field gentian, fragrant orchid and multi-flowered buttercup."
Sharpened the photo slightly using unsharp mask.
25.
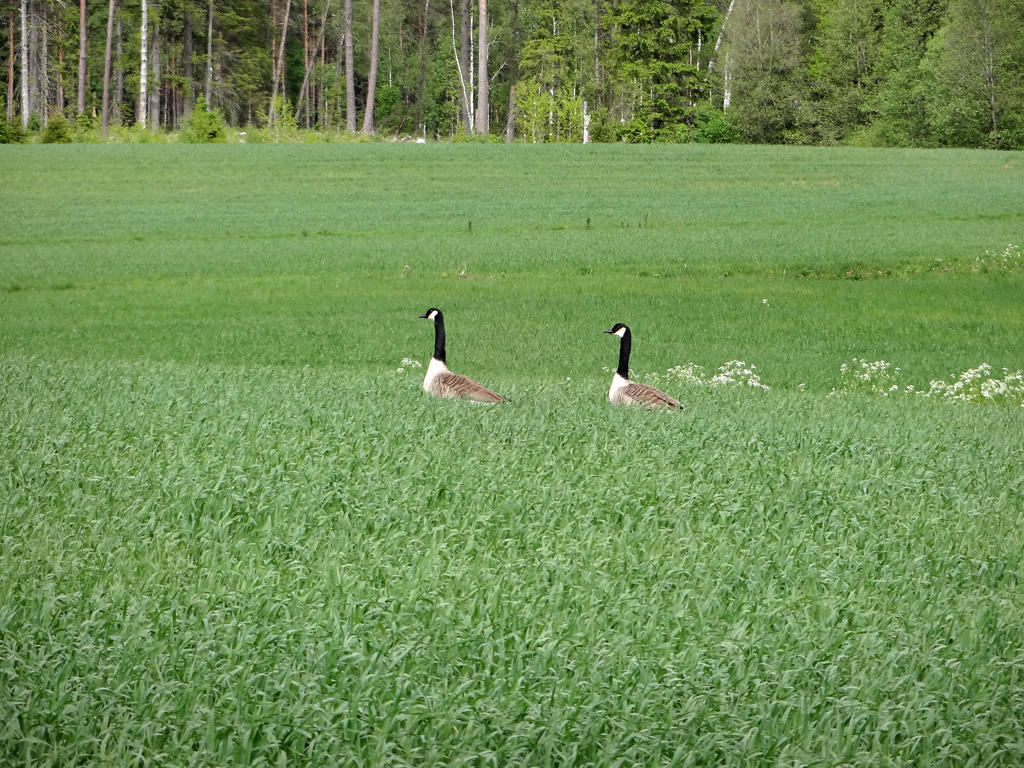
26.
Canada Goose. Sharpened the photo slightly using unsharp mask. Also used the levels tool to increase the contrast and brightness for the photo.
27.
28.
29.
30.
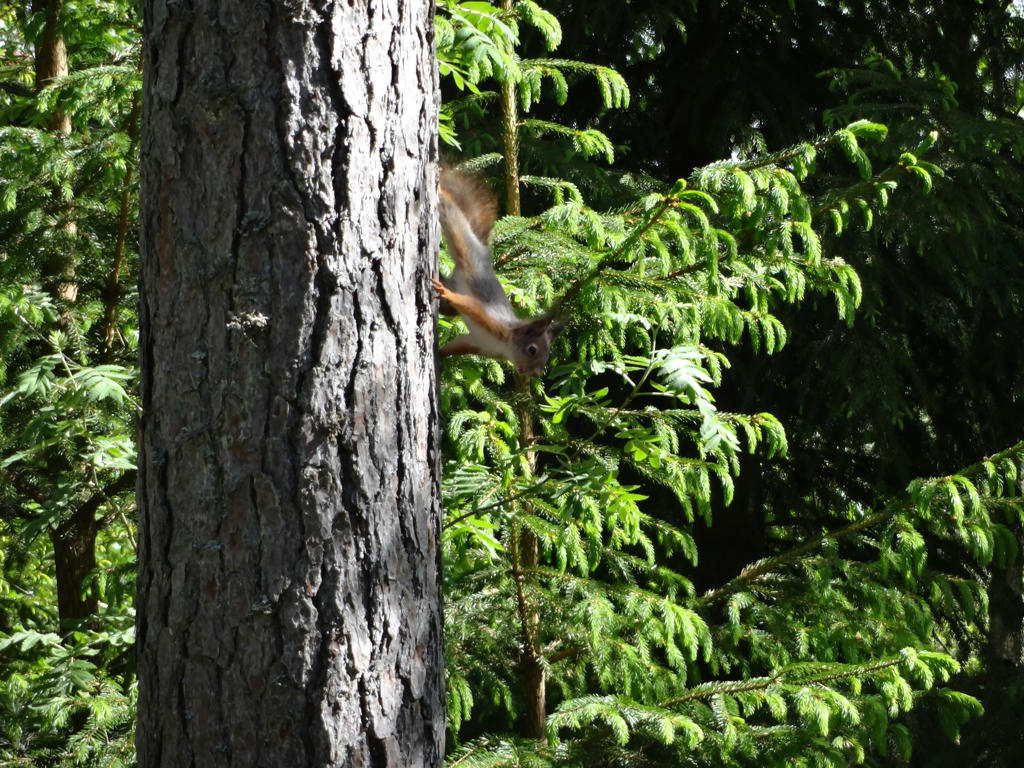
Squirrel
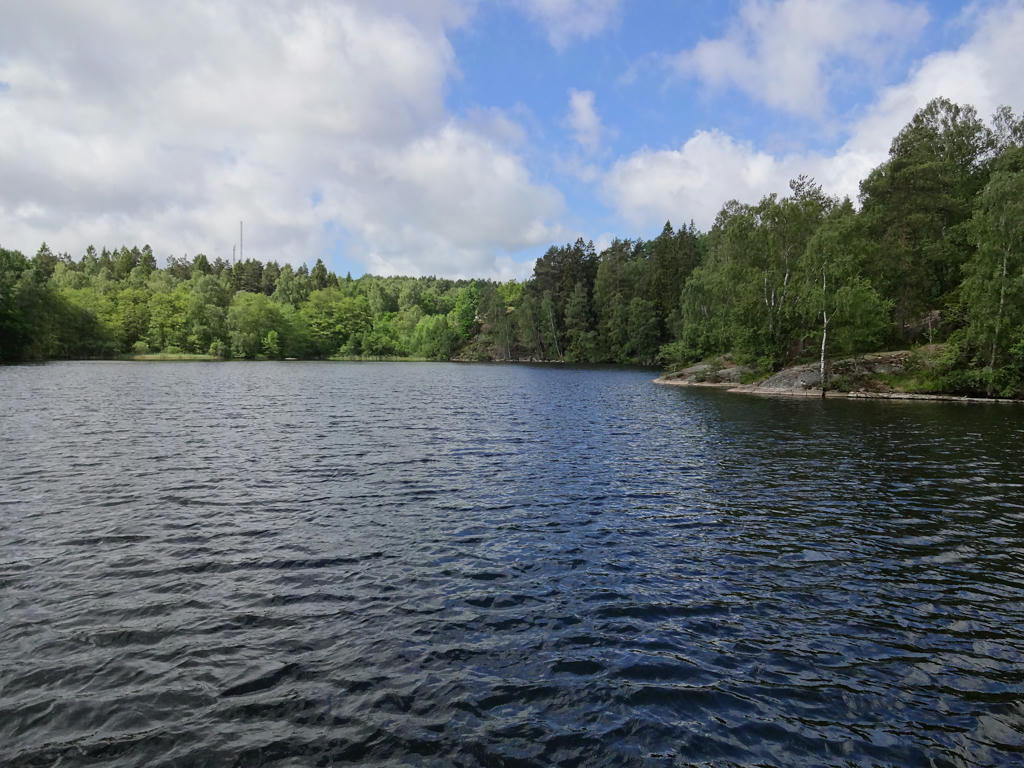
31.
The transition between the lakes Fängen and Sandsjön. Used the hue restorer plug-in to get rid of the cyan-ish sky color. Then I darkened the sky part first using the levels tool and then the curves tool.
Also darkened the non-sky parts using the curves tool.
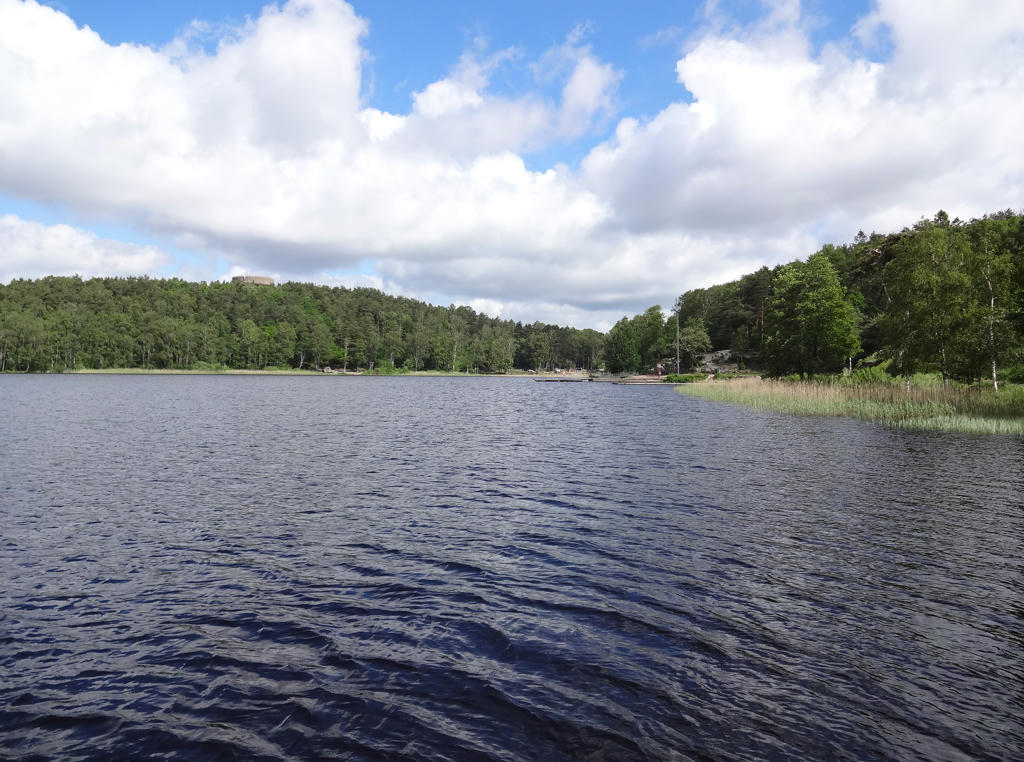
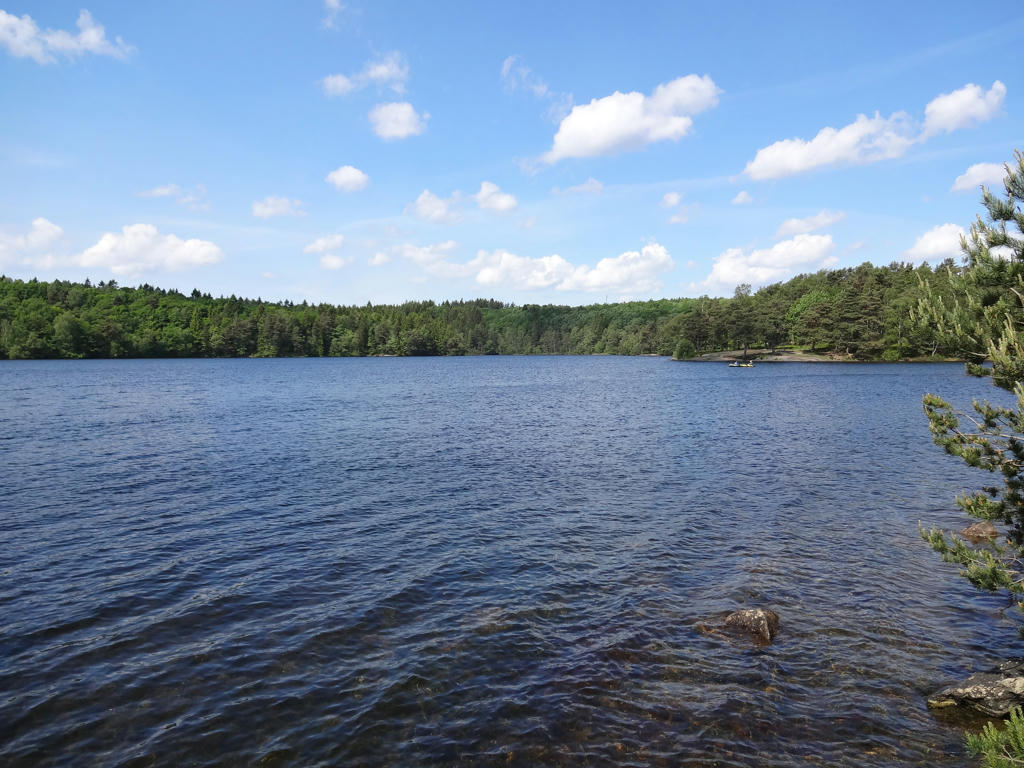
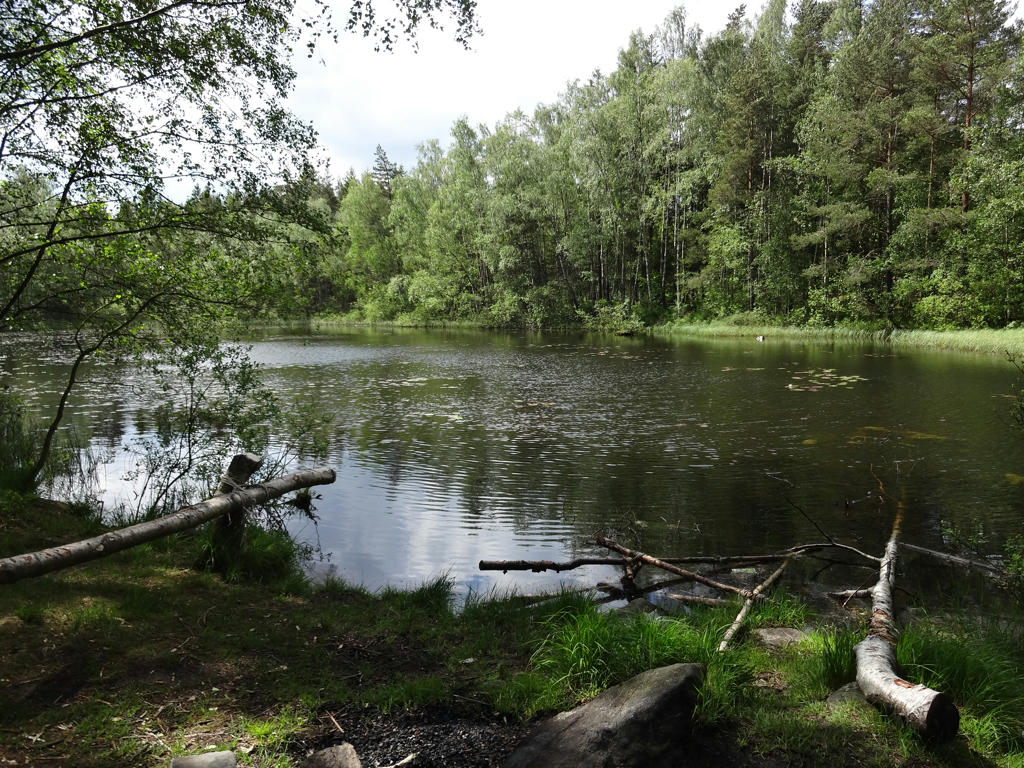
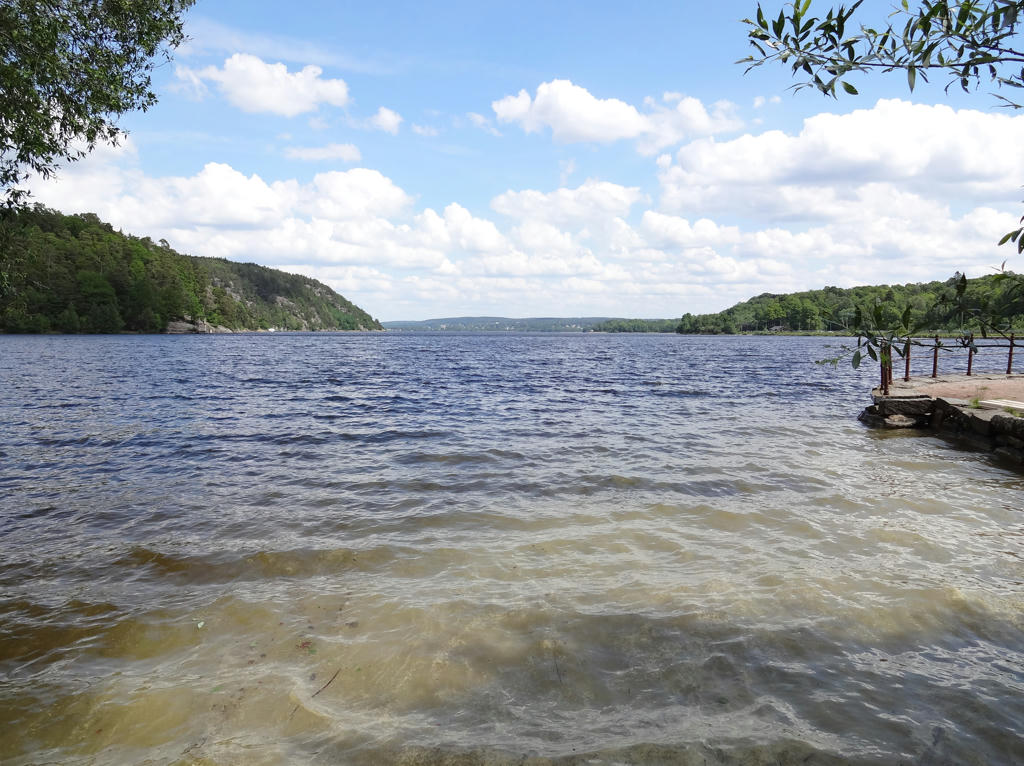
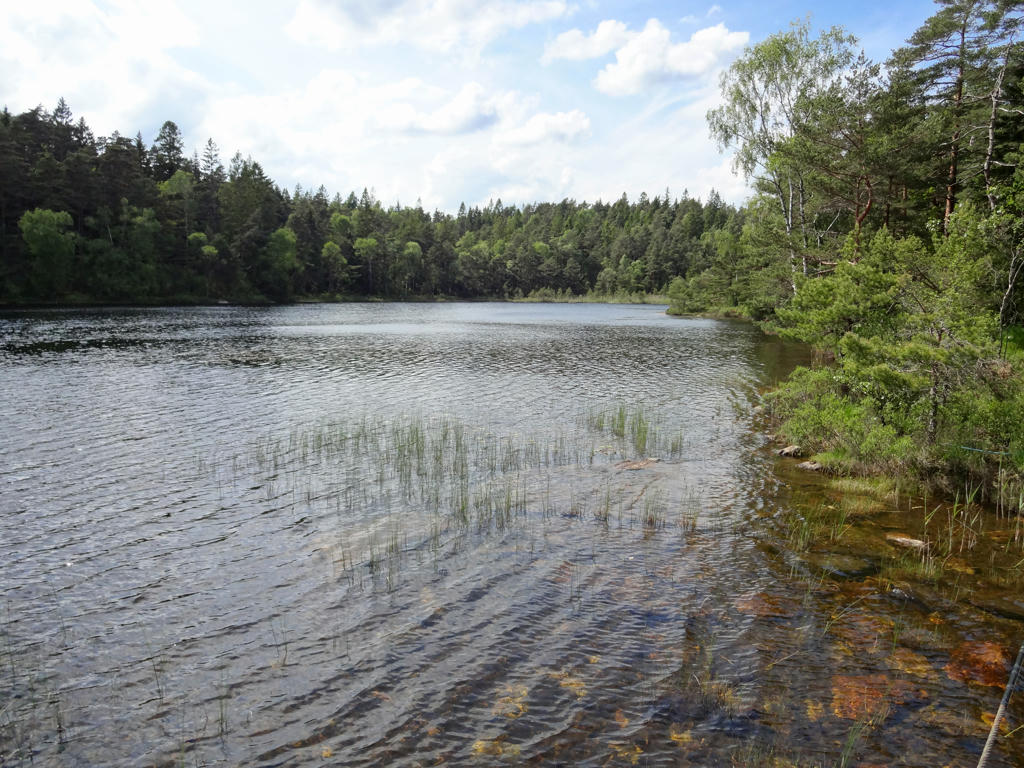
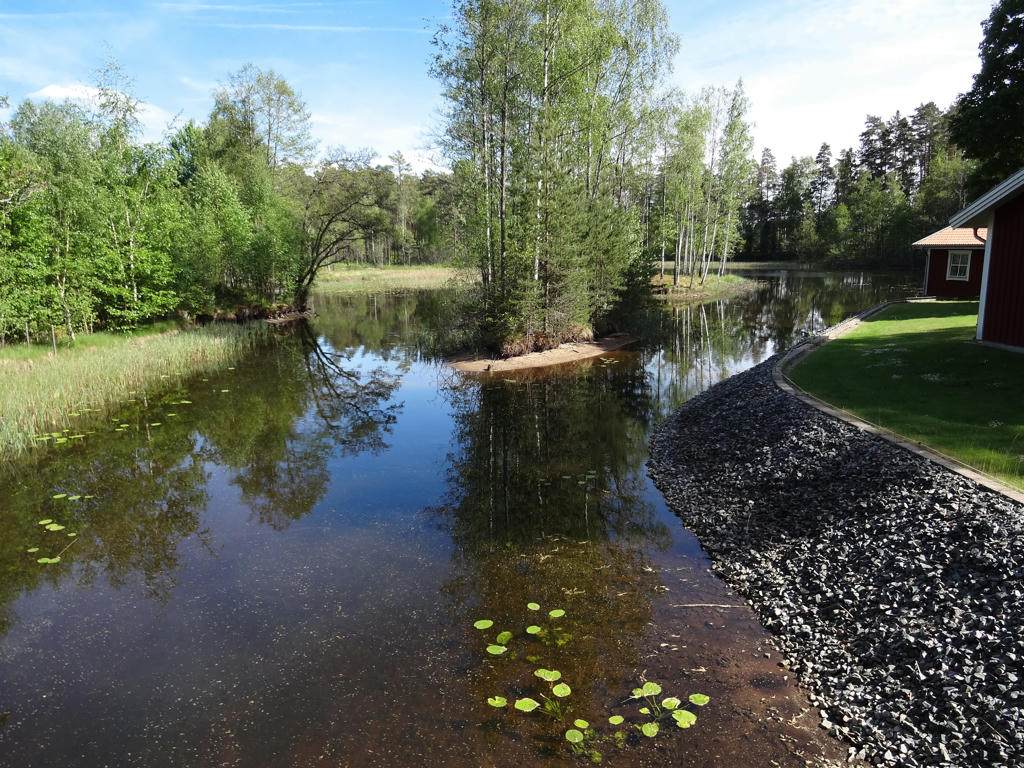
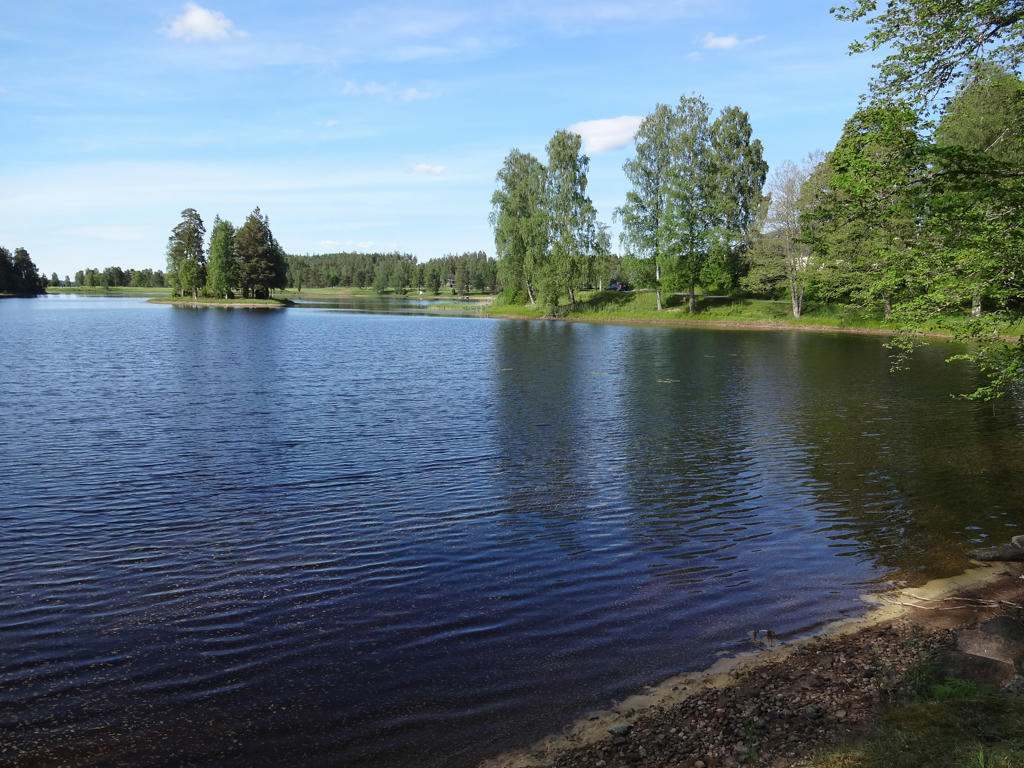
32.
Fängen
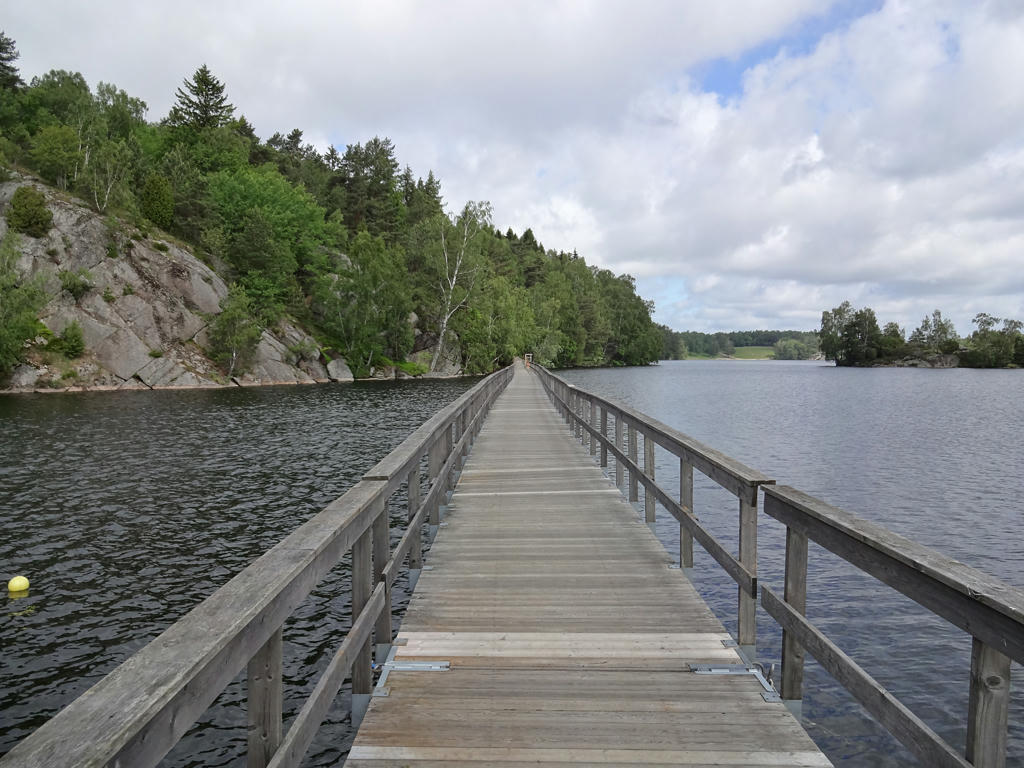
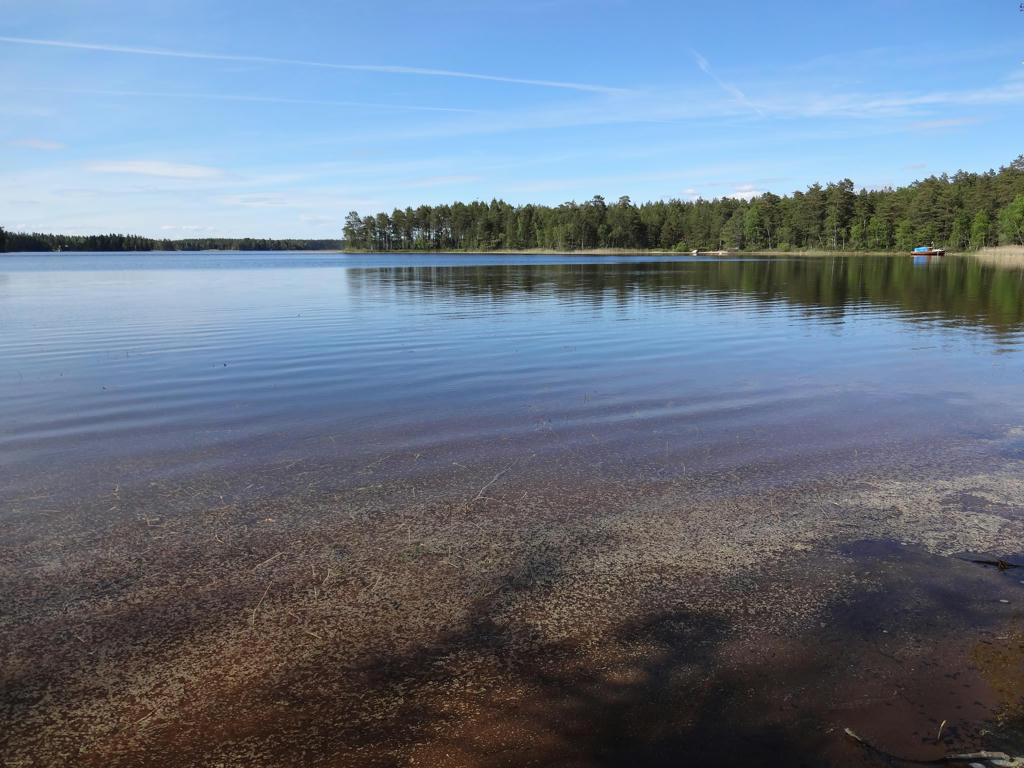
33.
Beach at Fängen.
34.
35.
Råhultsgölen. Used the hue restorer plug-in to get rid of the cyan-ish sky color. Then I slightly decreased the contrast for the photo. For the non-sky parts I then slightly increased the brightness using the levels tool and sharpened these parts slightly using unsharp mask.
36.
Sandsjön. Sharpened the photo slightly using unsharp mask. Then I slightly brightened the non-sky parts and darkened the sky, in both cases using the levels tool.
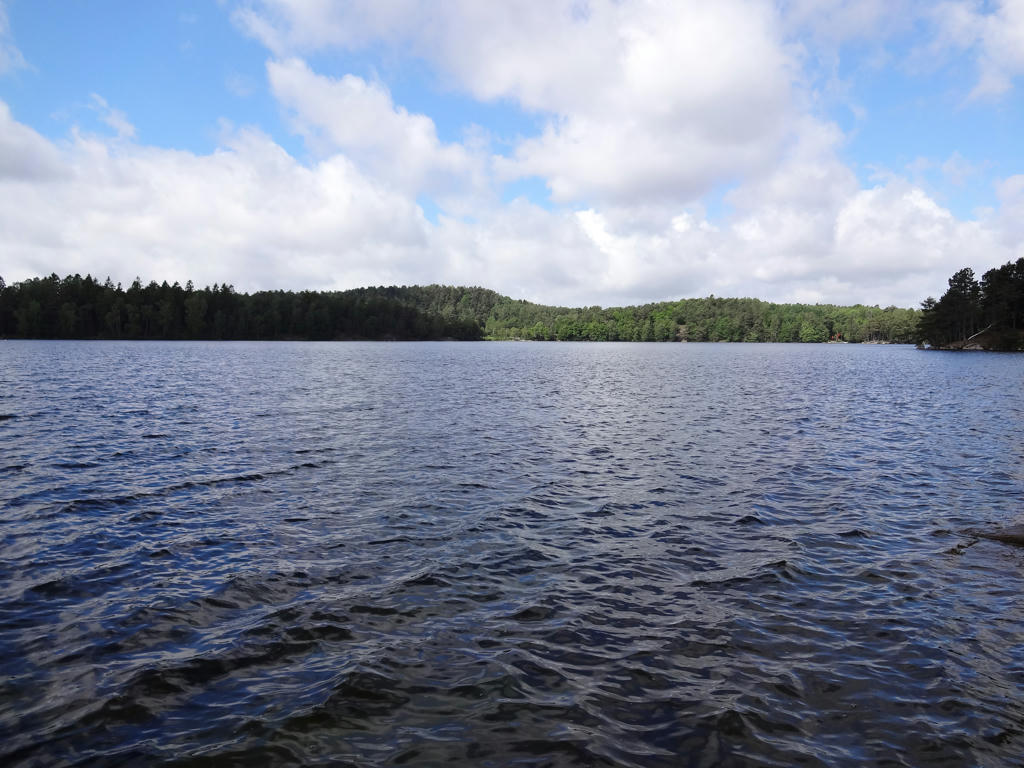
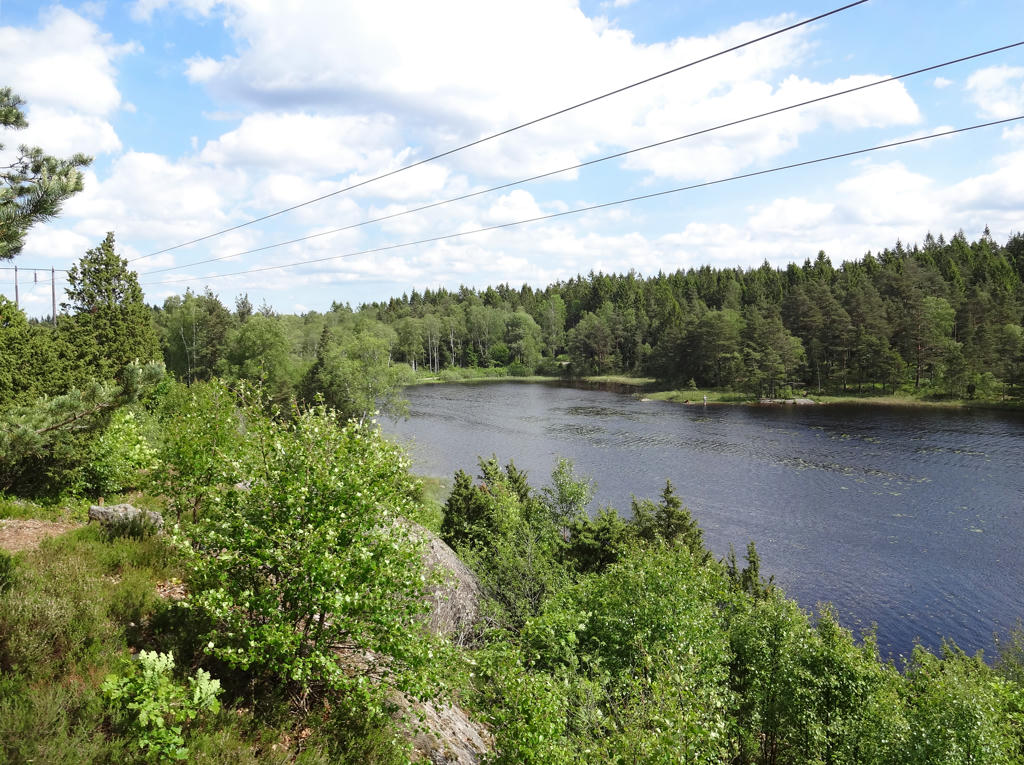
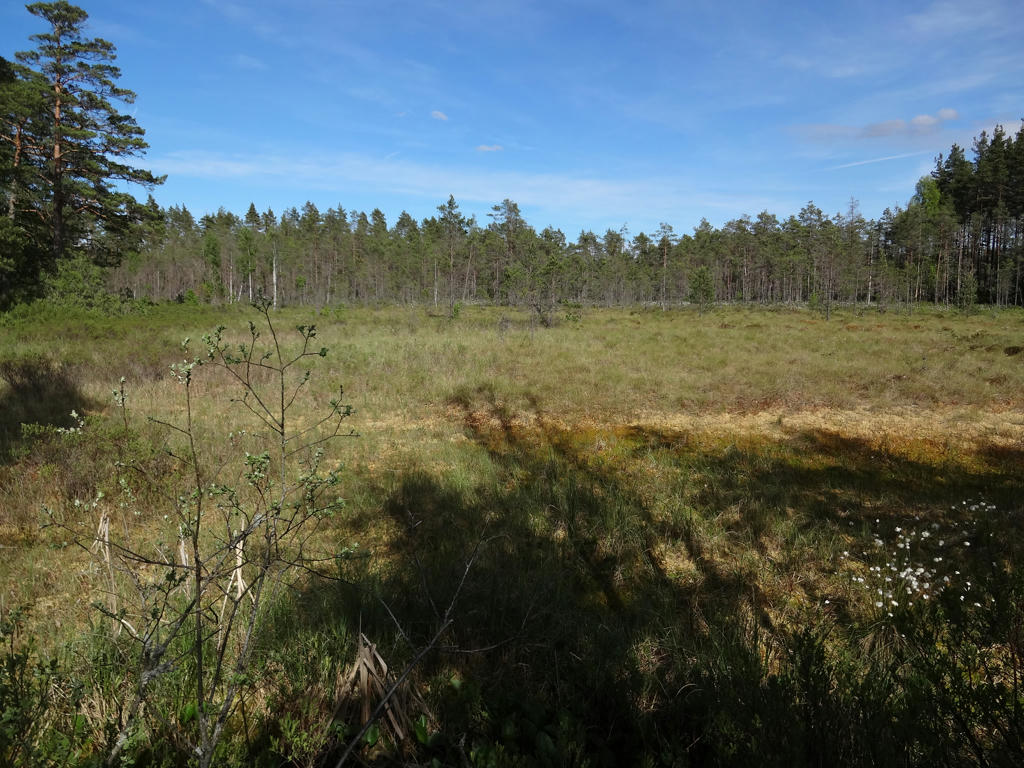
37.
Hokasjön
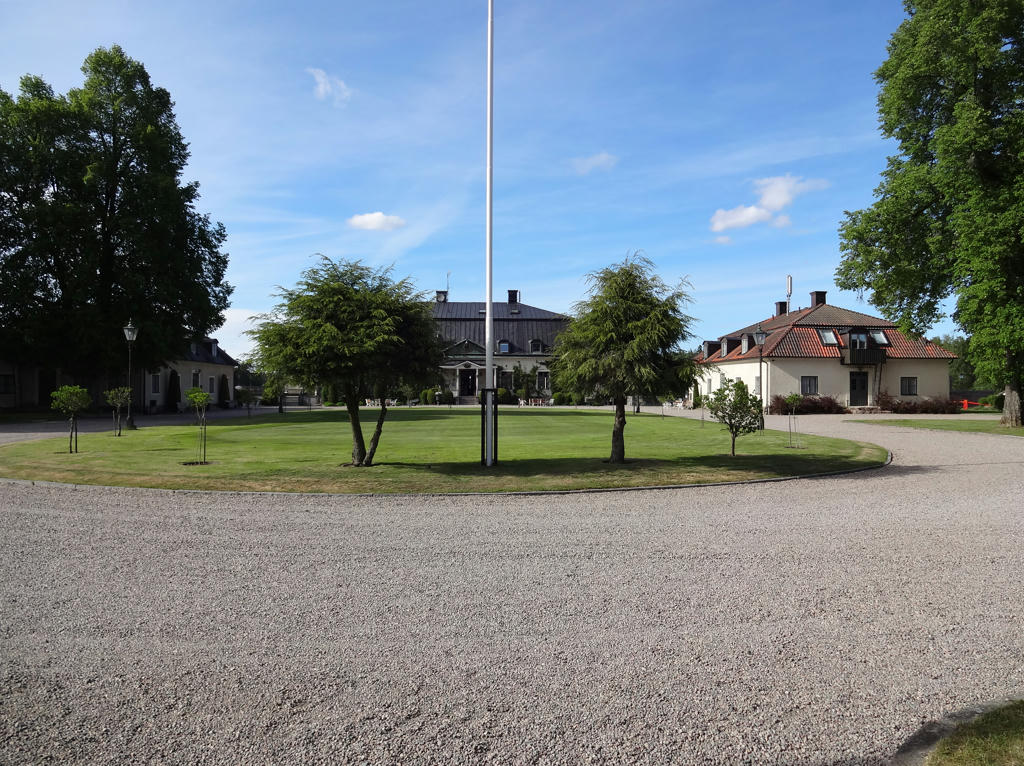
38.
Hooks herrgård (Hooks mansion). Rotated the photo slightly and cropped it.
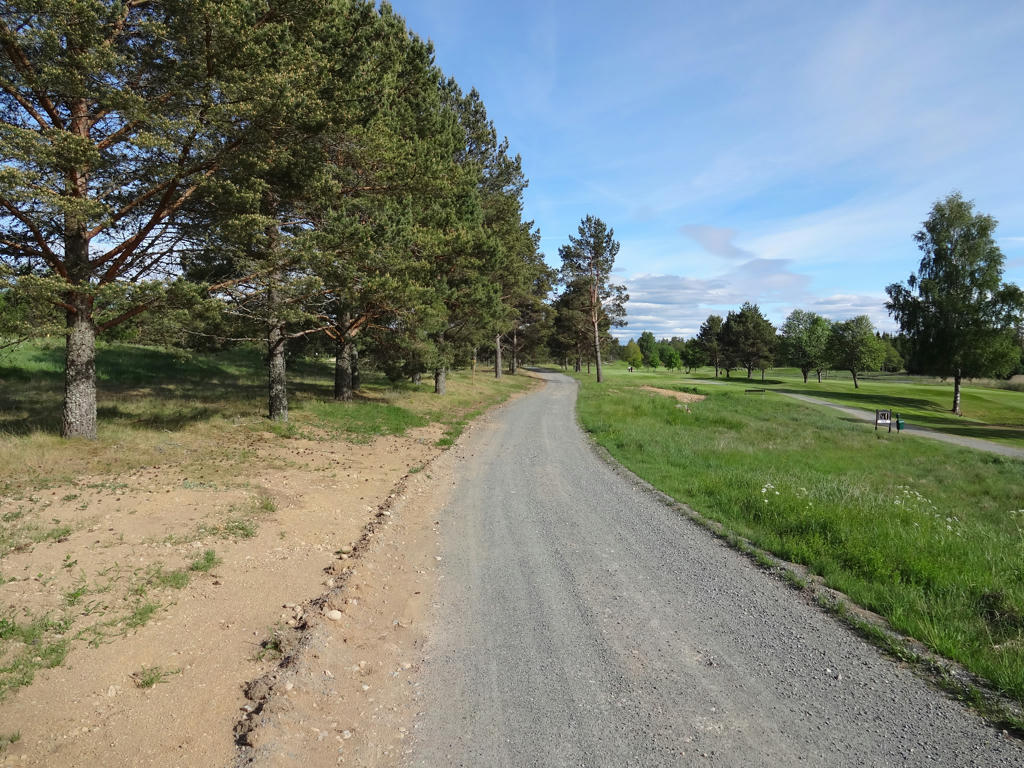
39.
Walking through the golf course belonging to Hooks mansion. I actually nearly got hit by a golf ball when walking through the golf course.
40.
Hokån