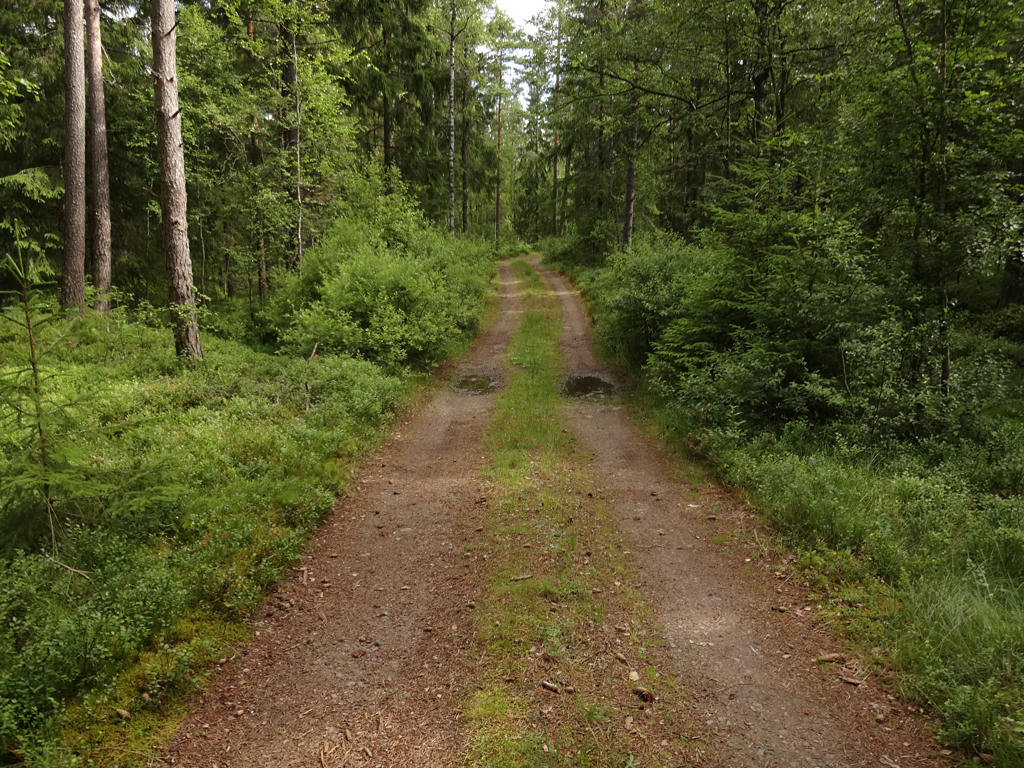
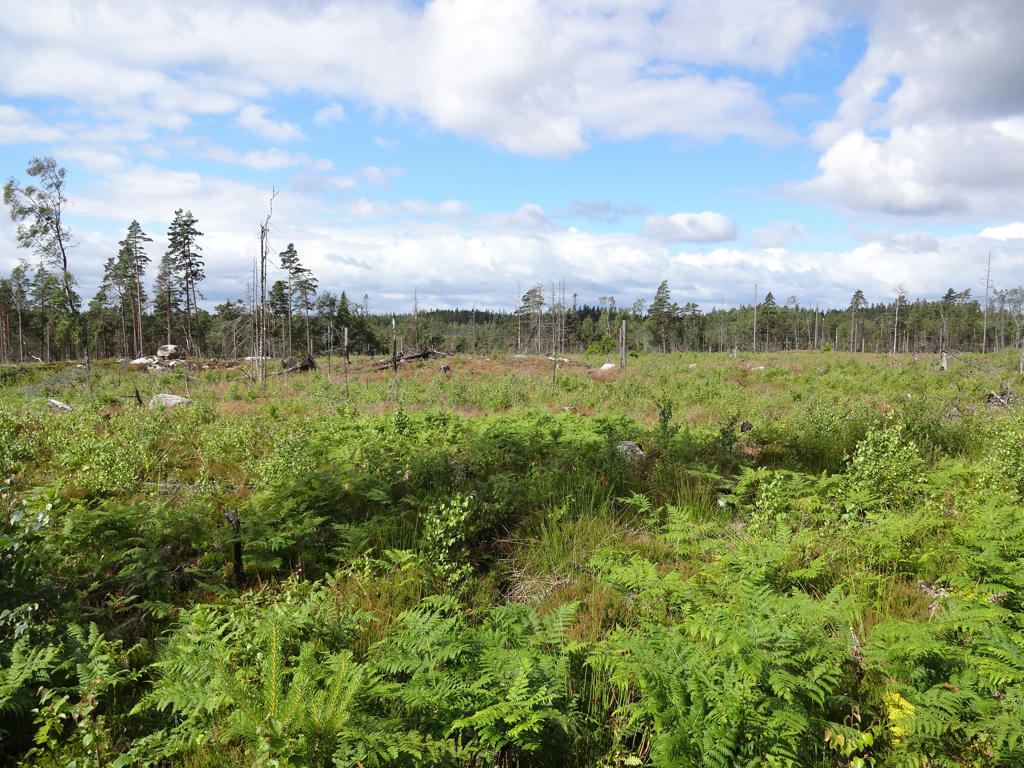
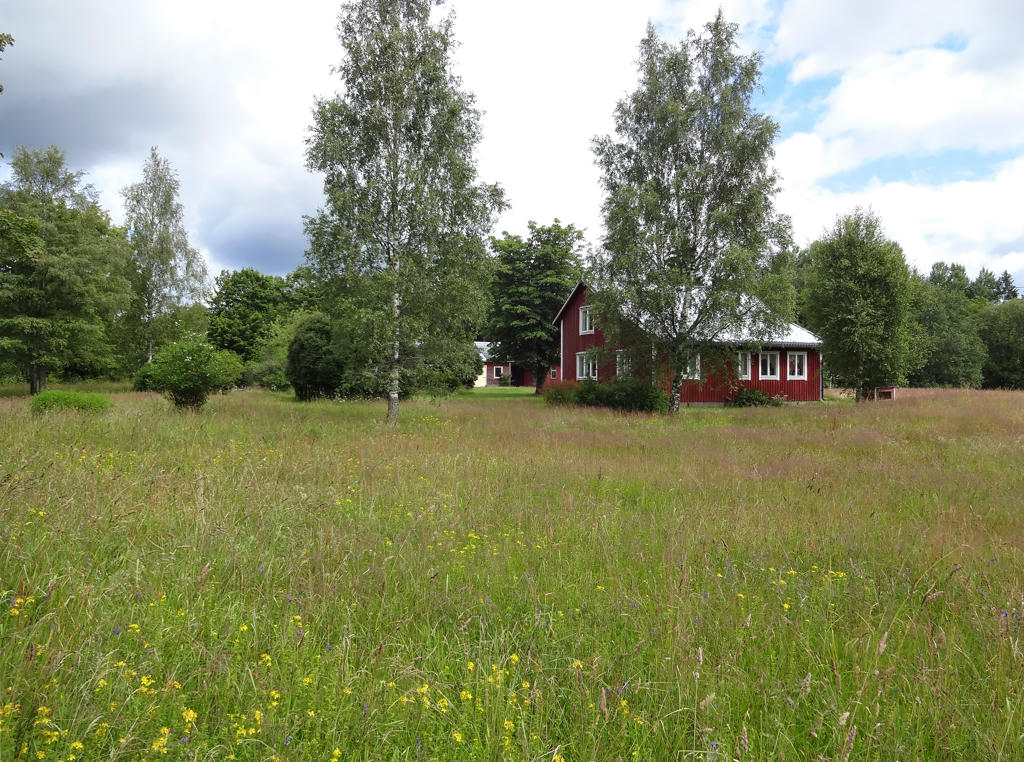
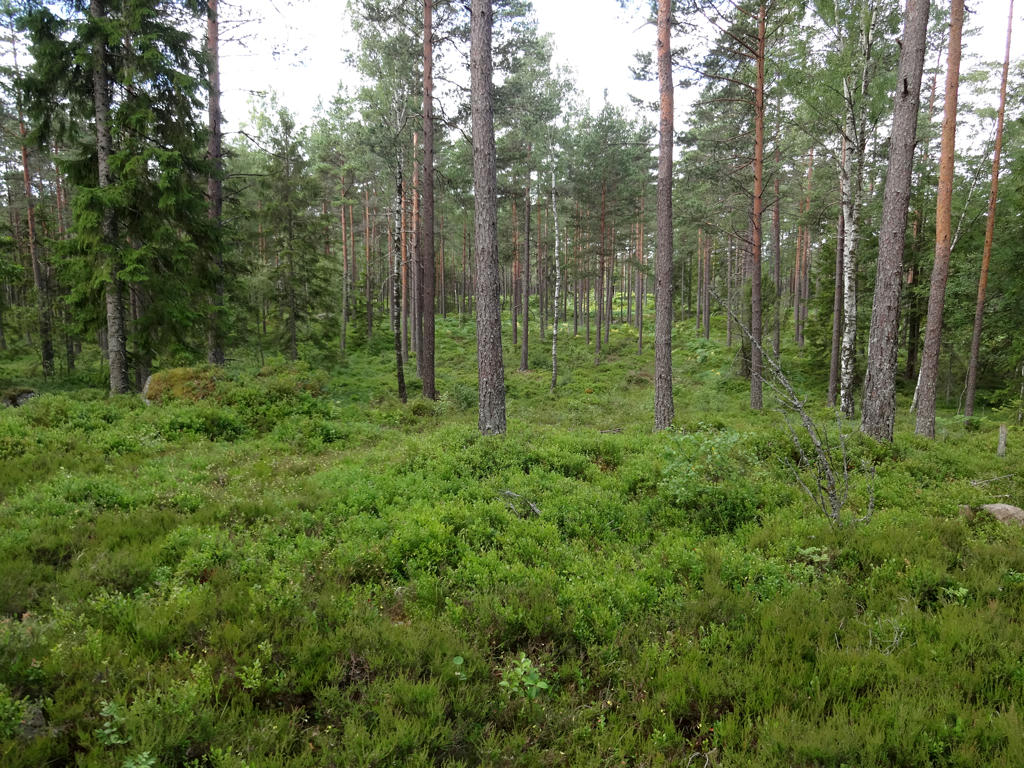
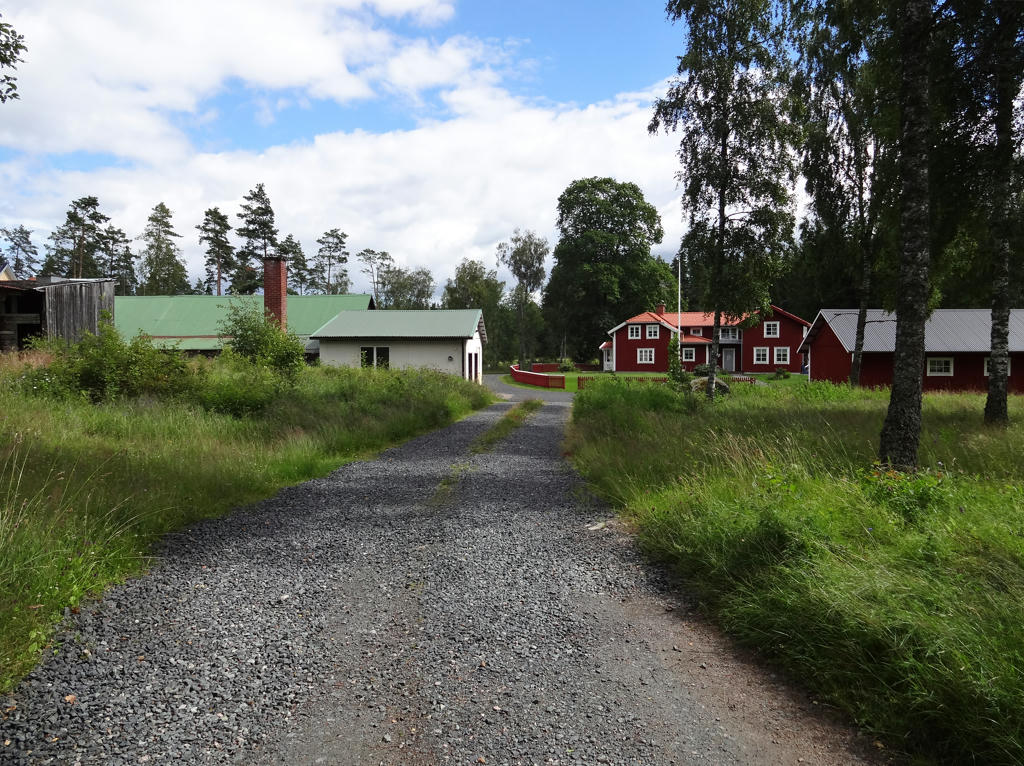
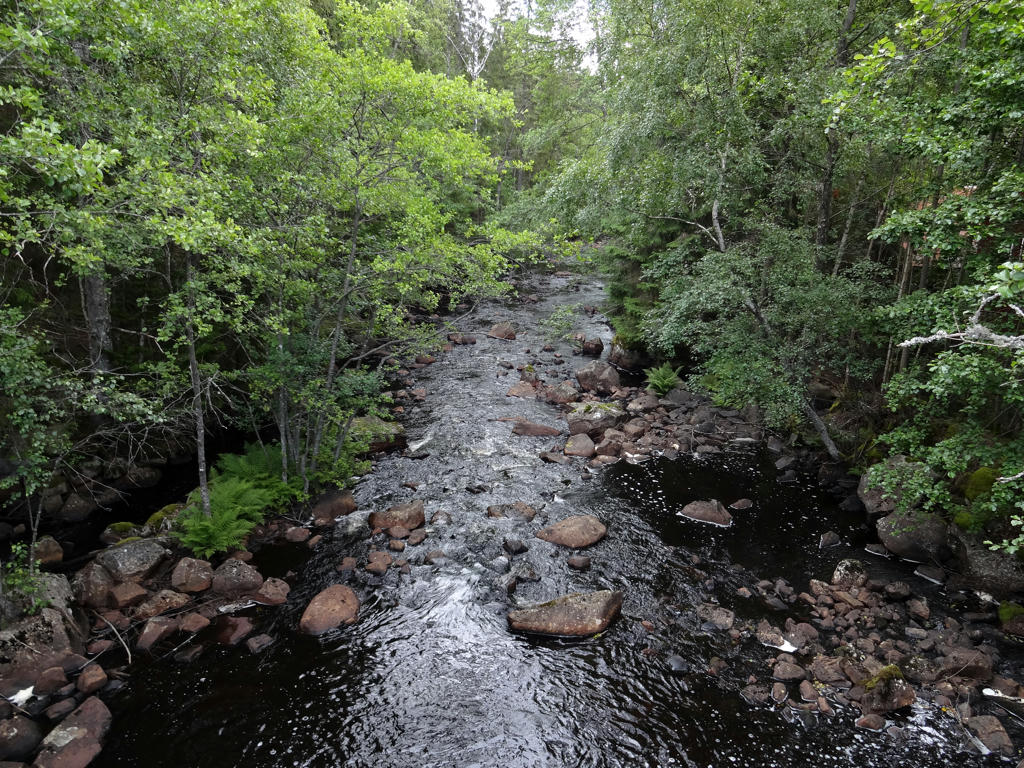
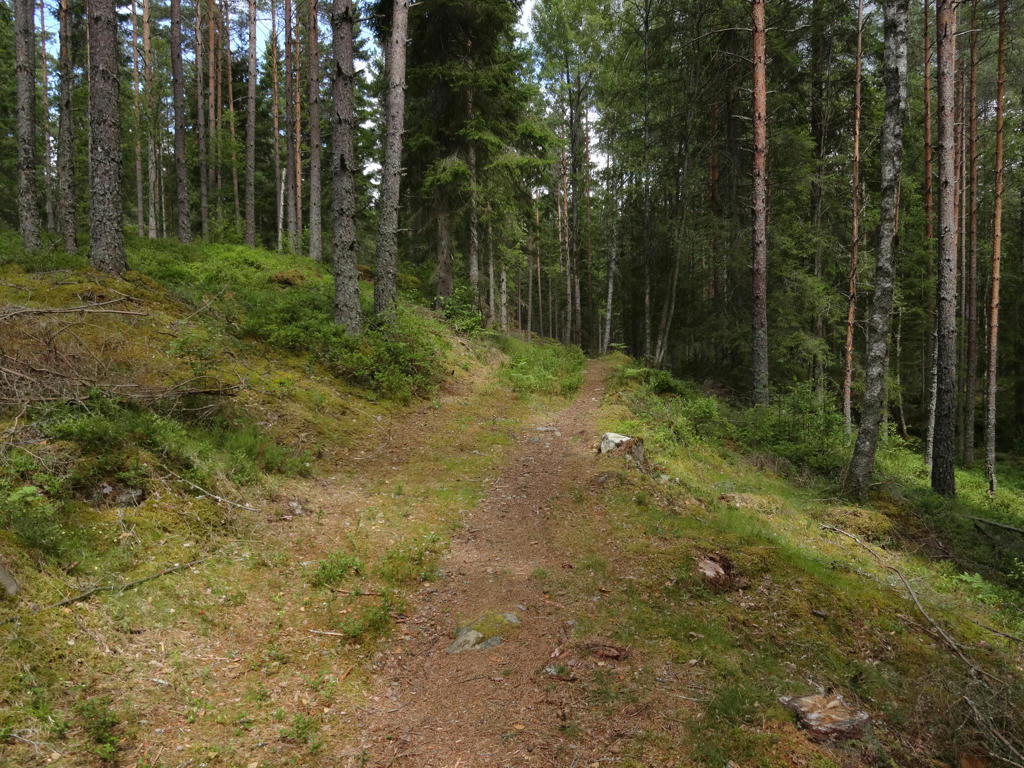
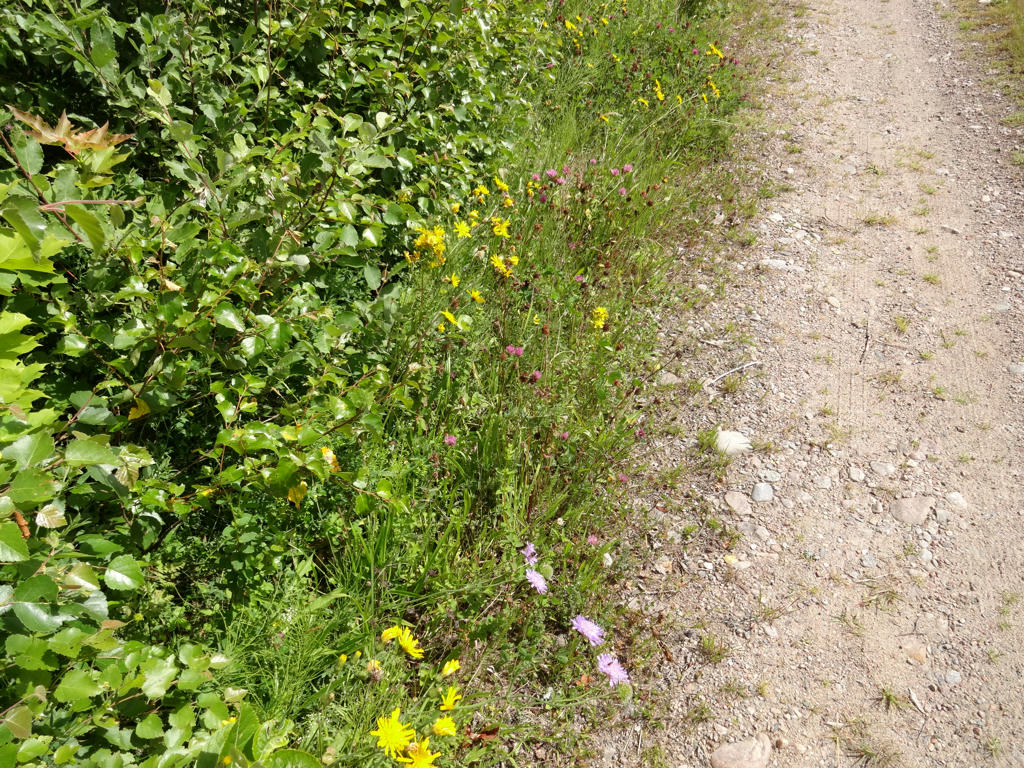
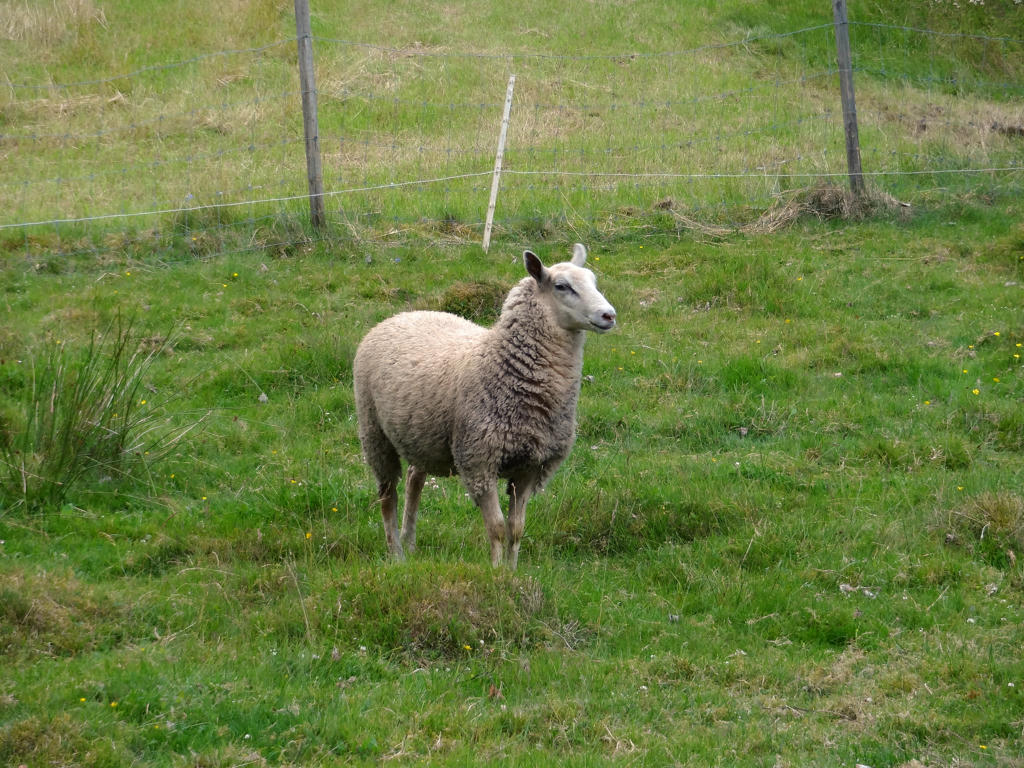
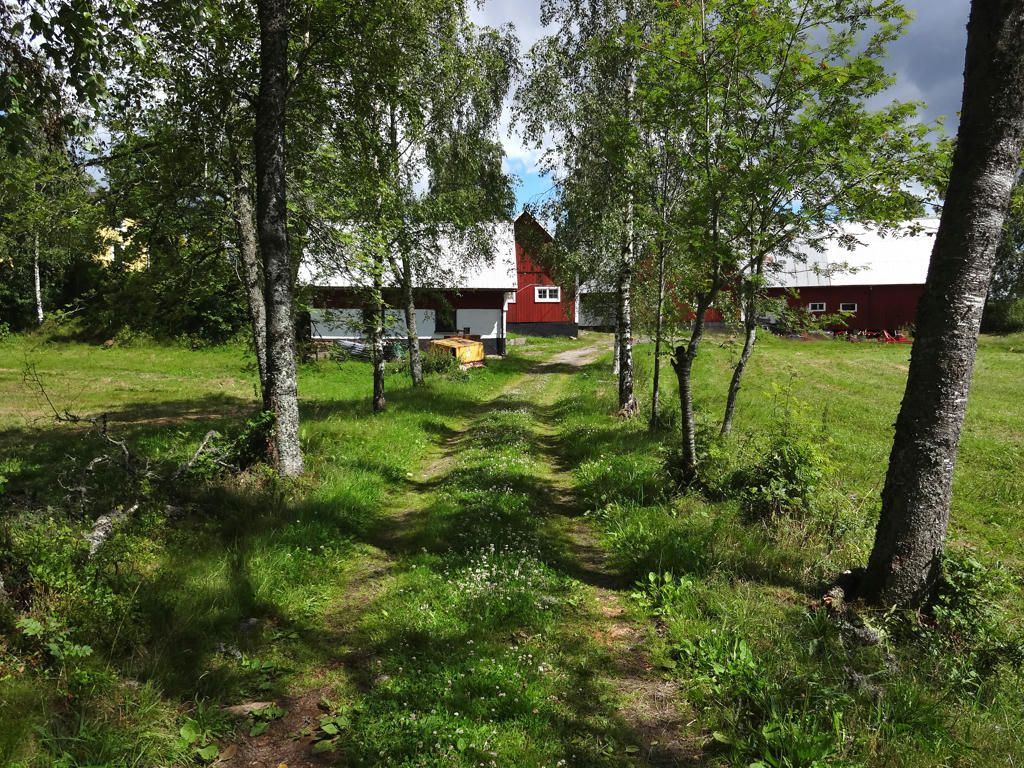
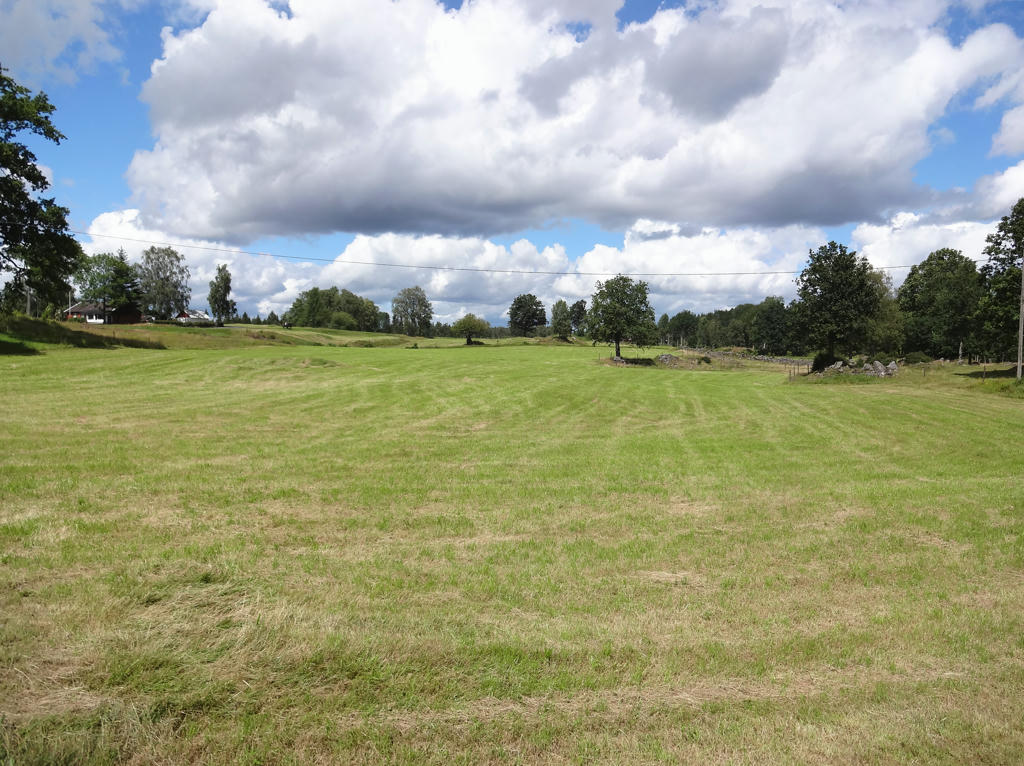
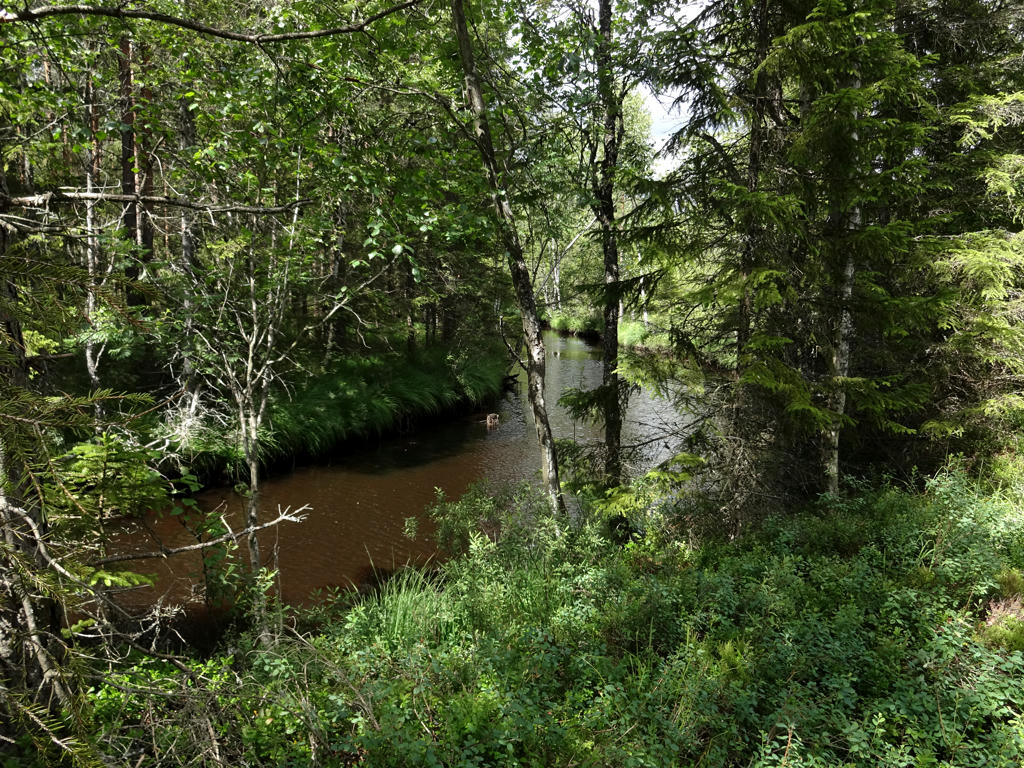
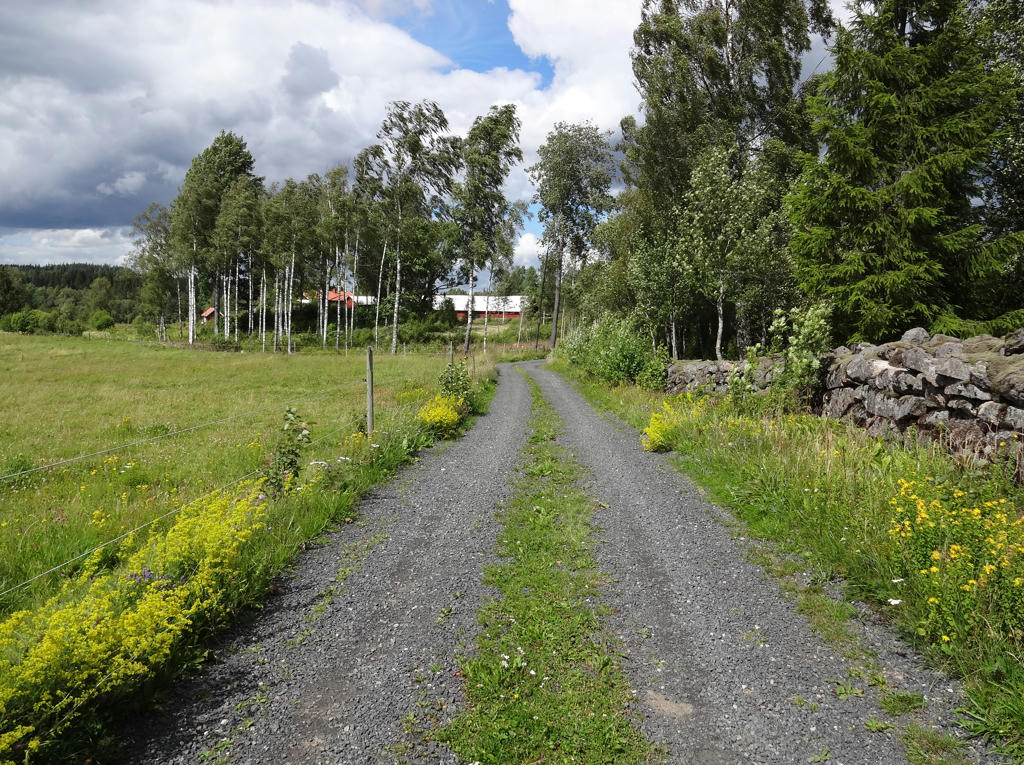
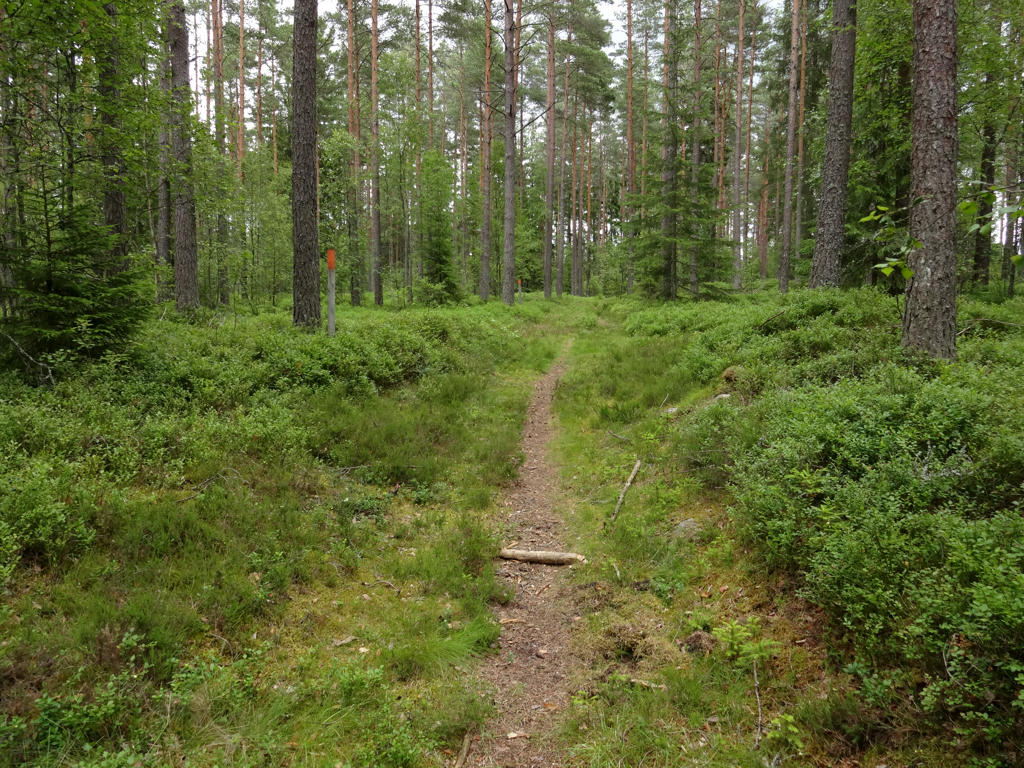
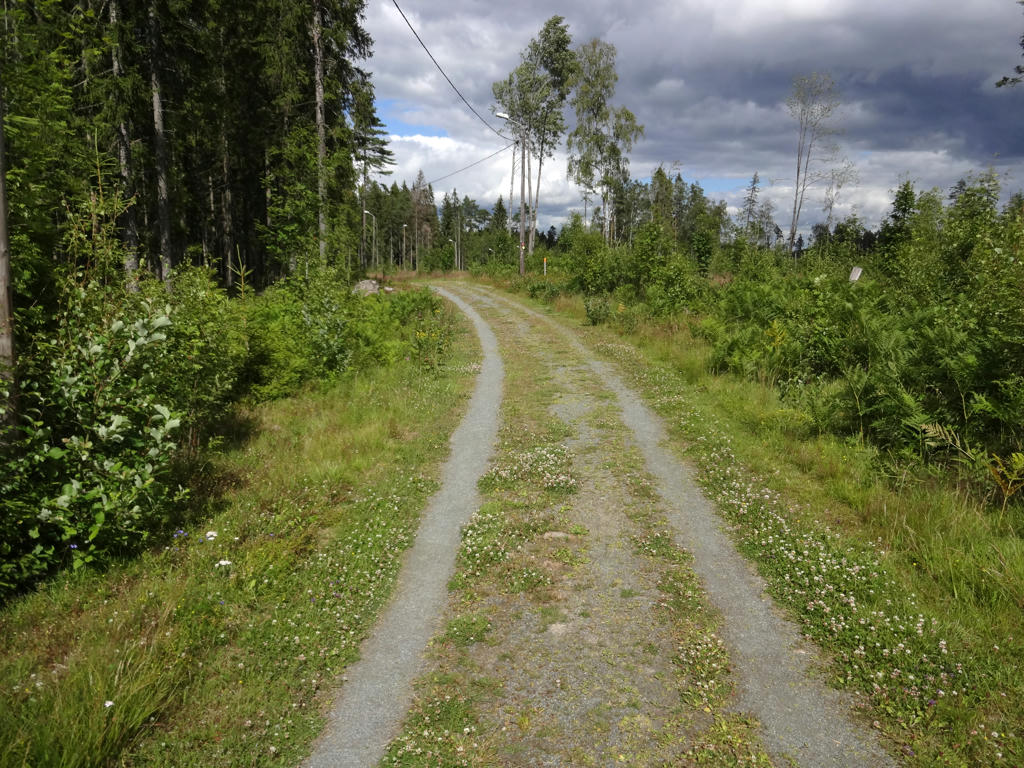
The trail goes mostly on gravel roads and tractor roads rather than on footpaths (which allowed me to walk quite fast) and goes mostly through (coniferous) forests. However, the forests are to a large extent used for forestry and thus aren't very interesting for the most part. On the other hand, some parts of the forests had plenty of blueberry bushes. The trail also goes through several villages with small scale farm land, which are generally the more interesting parts of the walk (especially Ljungberg). There are only a few lakes, rivers or points of interest near the trail.
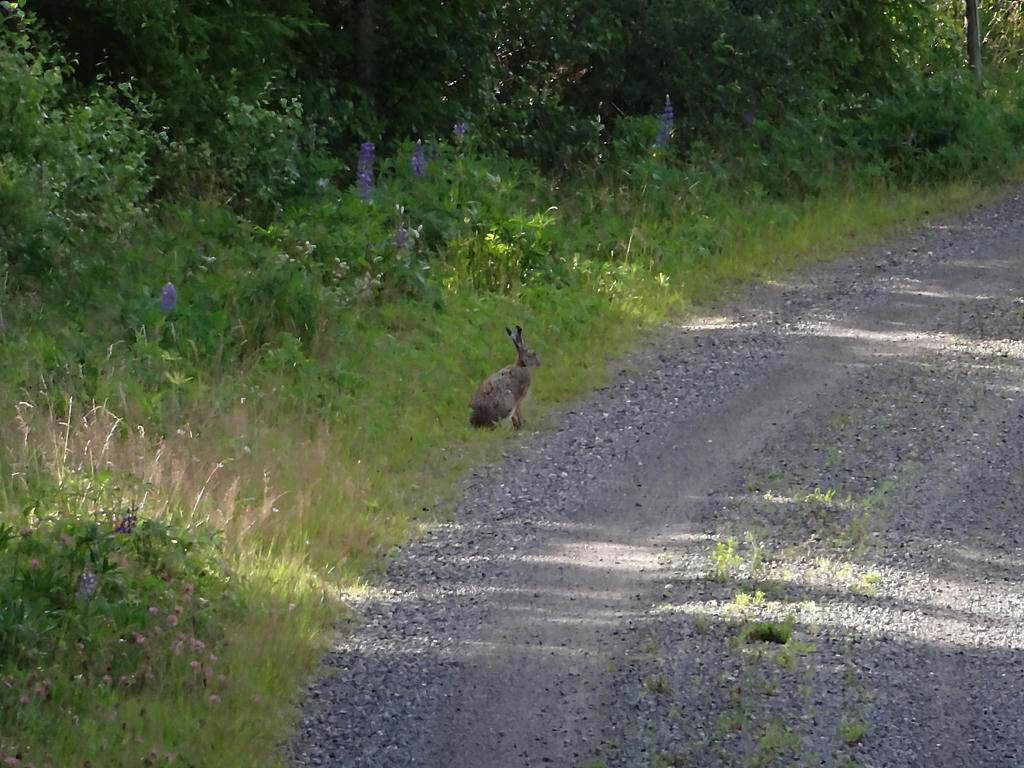
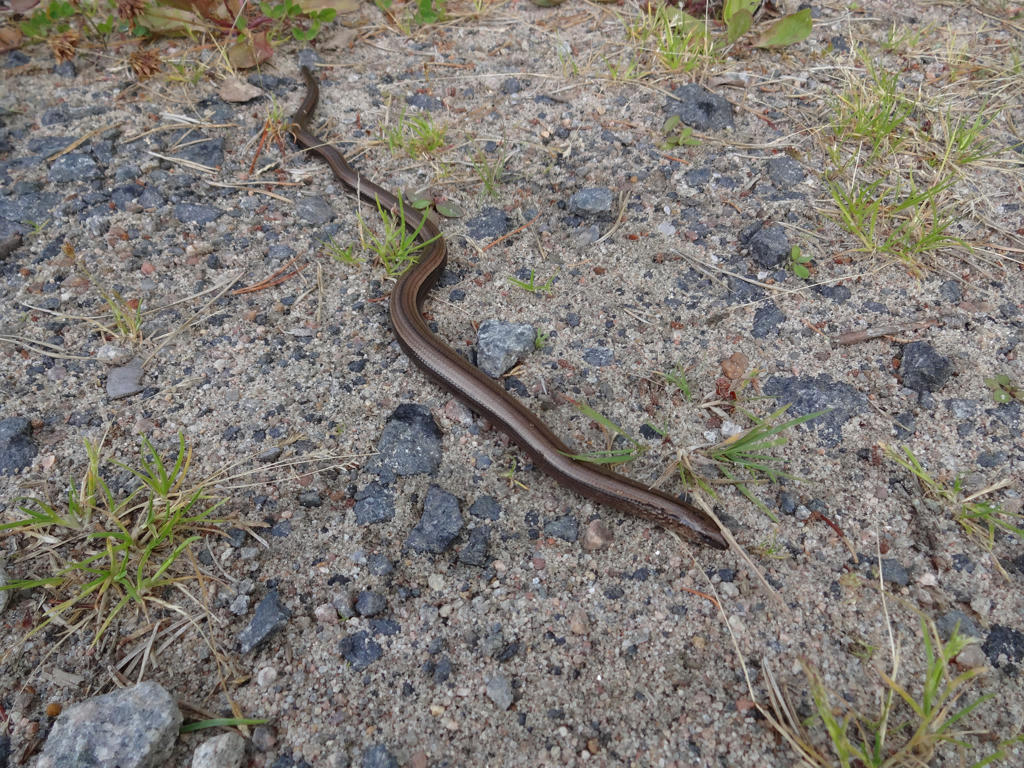
It can be noted that I got wet shoes pretty soon after the walk started (due to wet grass) and had to change socks a couple of times. Furthermore, I had only minor luck in seeing wild animals; I saw a hare and a slowworm. Finally, it can be noted that it was cloudy for the most part and a couple of times there was some minor drizzle, however it was moderately warm so it wasn't too bad.
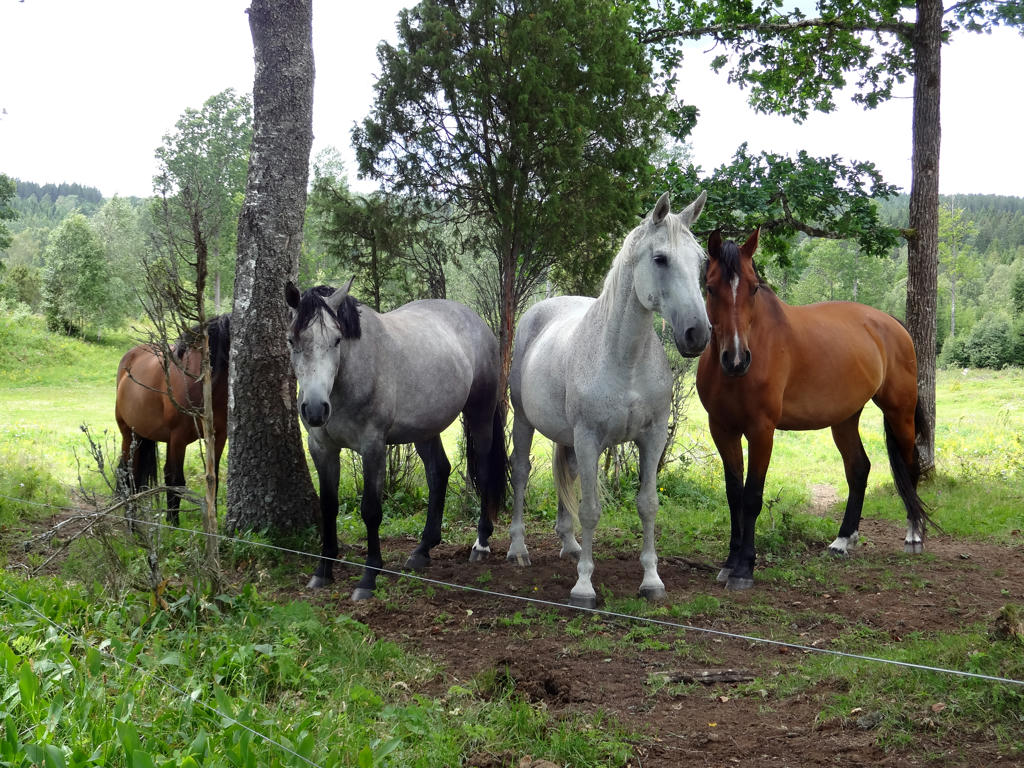
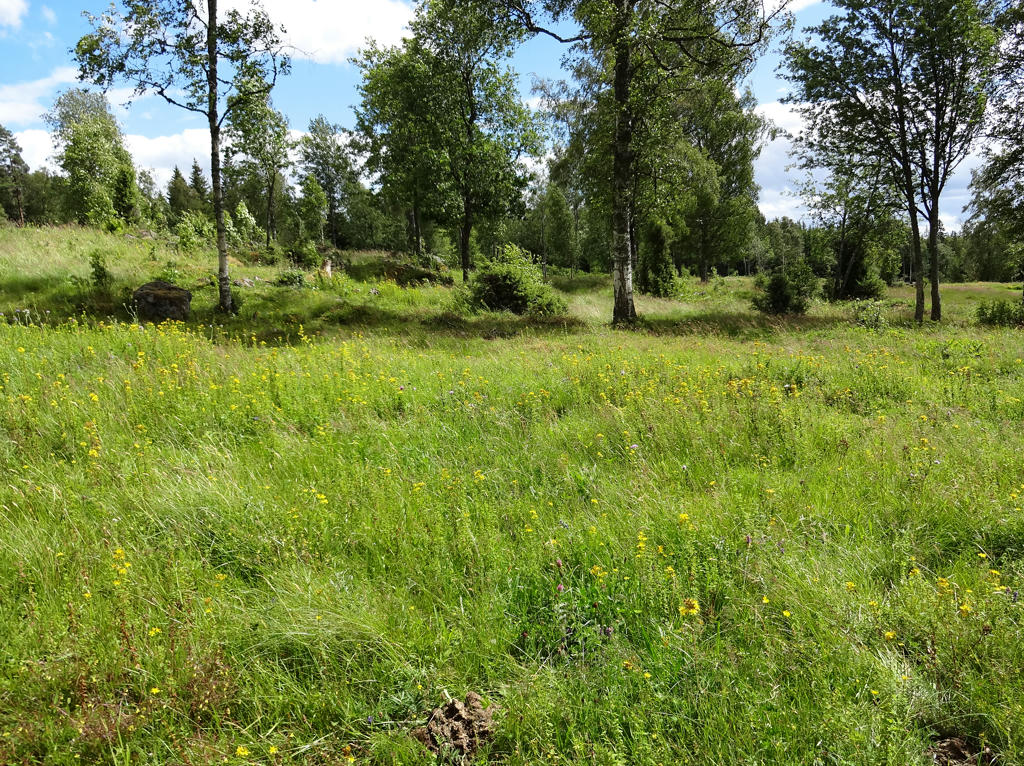
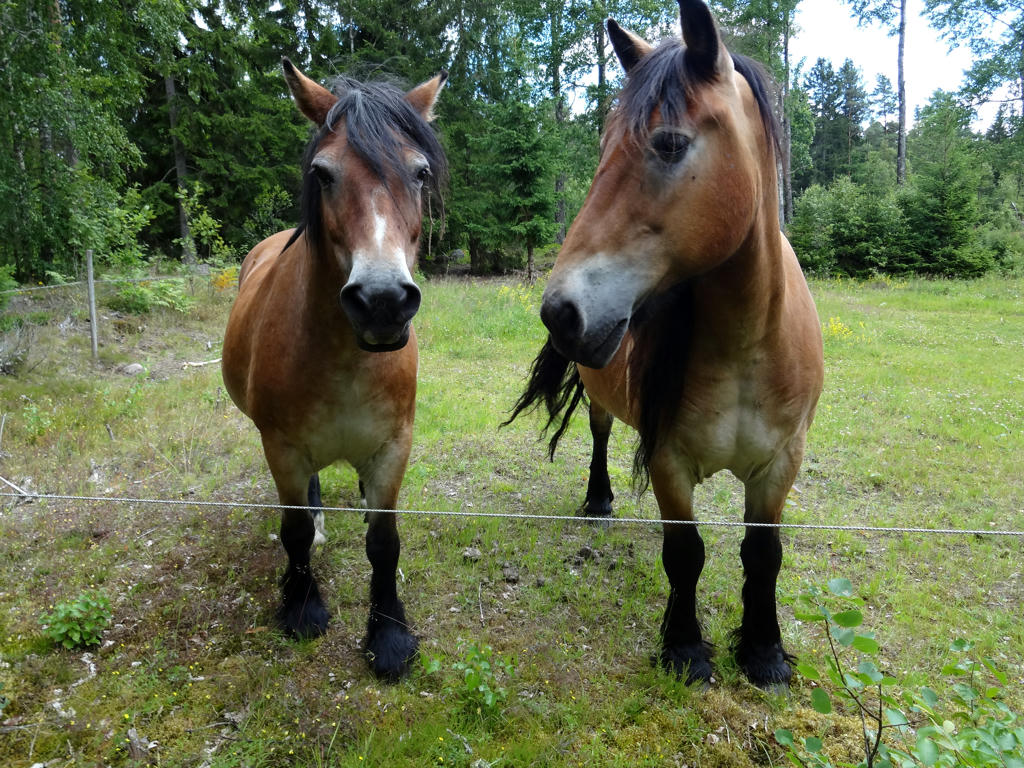
Although the walk was not as interesting as the other parts of Höglandsleden presented in the blog posts so far, I didn't find it boring. In either case, as usual the photos do a much better job of describing a walk and hopefully show some of the more interesting parts of the walk. Enjoy!
1.
Hare. First I despeckled the photo and then I sharpened the photo slightly using unsharp mask.
2.
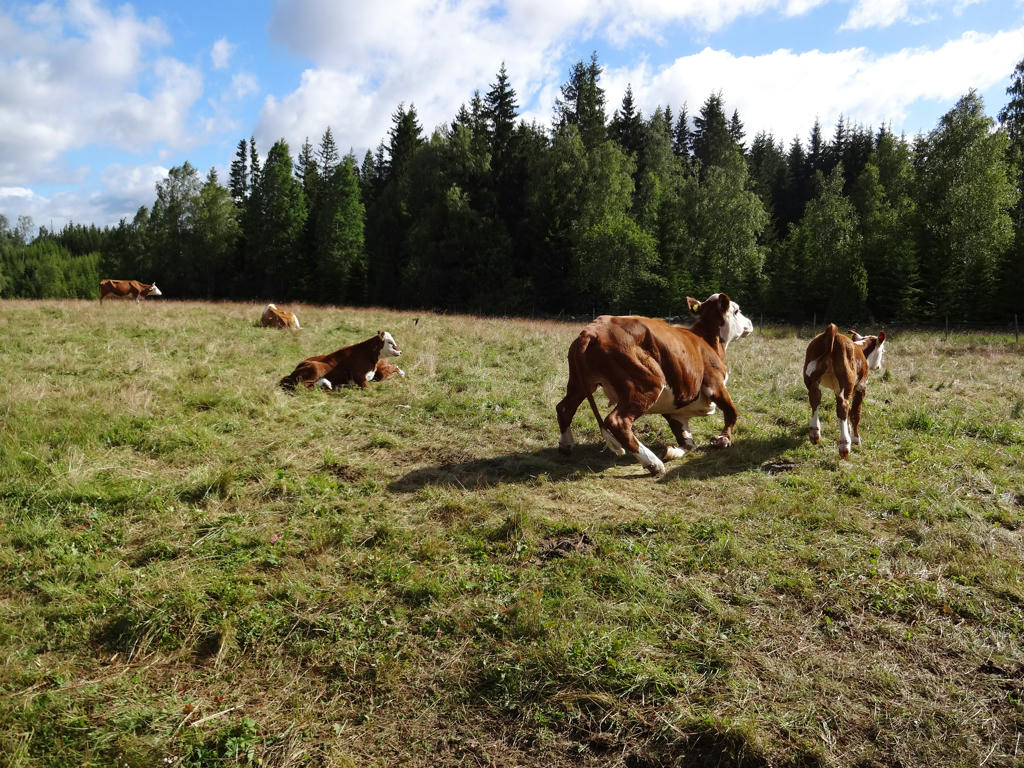
Good timing. Brightened the sky slightly using the levels tool. Also brightened the non-sky parts using the curves tool.
3.
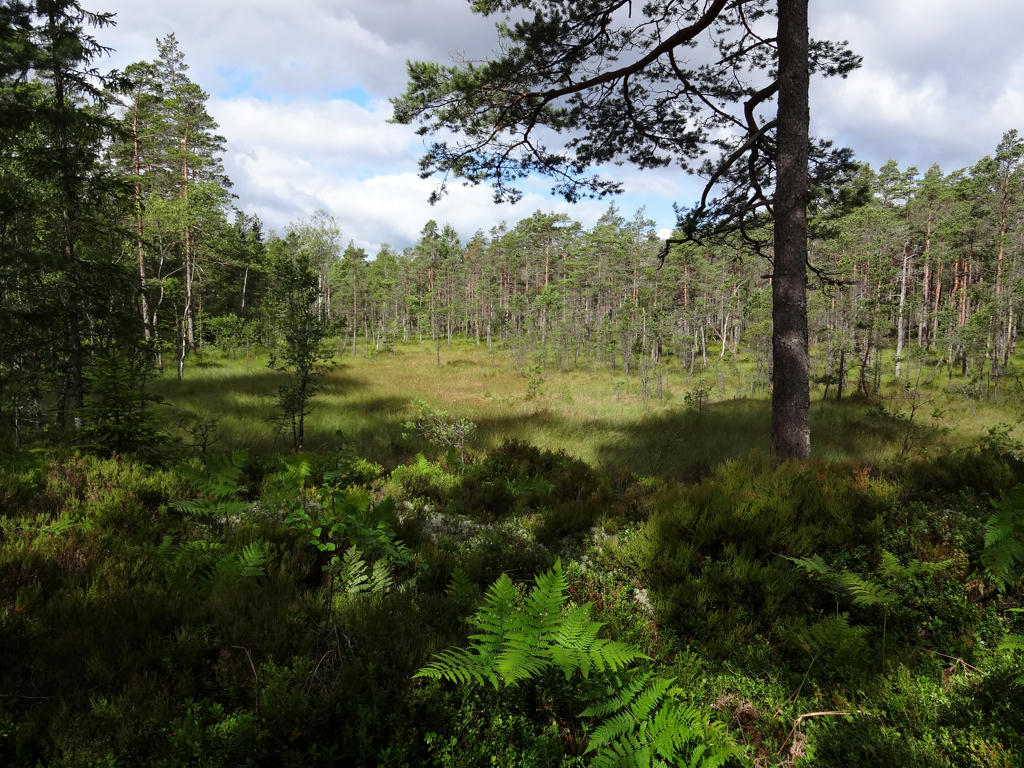
Darkened the sky slightly using the levels tool. Also increased the contrast slightly for the non-sky parts using the brightness-contrast tool.
4.
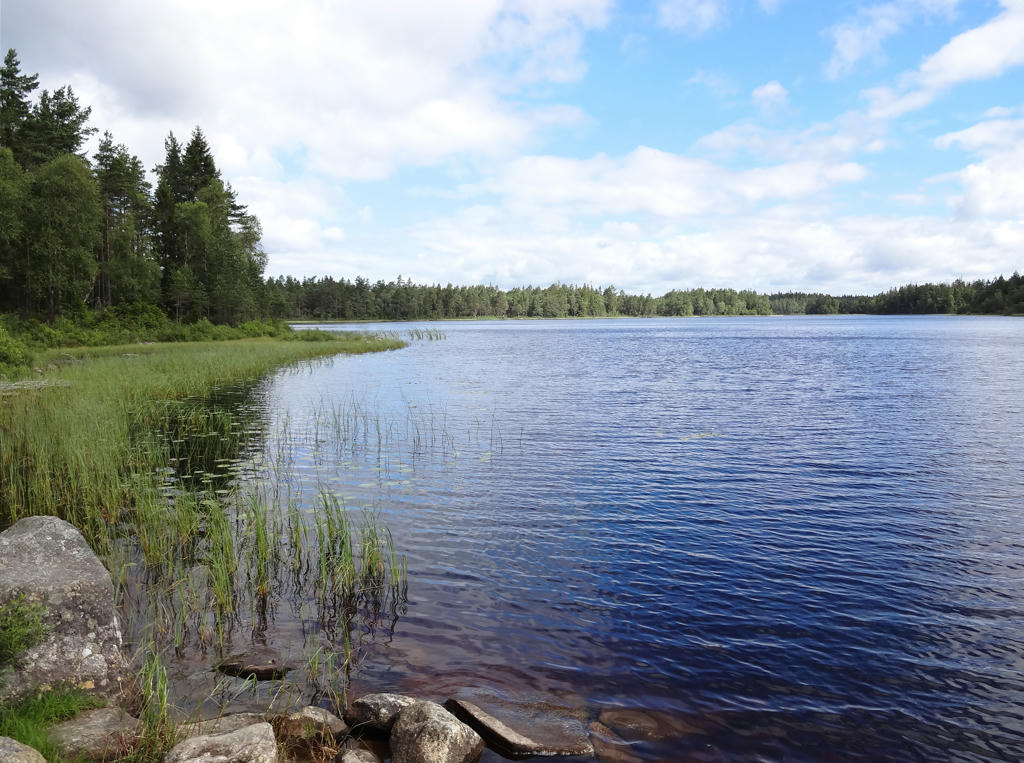
Kyllesjön. Rotated the photo slightly and cropped it. Also used the levels tool to darken the sky slightly and brighten the non-sky parts slightly.
5.
Sharpened the photo slightly using unsharp mask. Also brightened the photo slightly using the levels tool.
6.
7.
Slowworm
8.
Gimmarp. Rotated the photo slightly and cropped it. Also darkened the sky slightly using the levels tool.
9.
Increased the contrast slightly using the brightness-contrast tool. Also sharpened the photo slightly using unsharp mask.
10.
Sjövik. Rotated the photo slightly and cropped it. Also darkened the non-sky parts slightly using the levels tool.
11.
Rosenlund. Used the hue restorer plug-in to reduce the cyan-ish sky color. Also rotated the photo slightly and cropped it.
12.
Ålaryds kvarn (Ålaryd's mill).
13.
Västerån. Increased the contrast slightly using the brightness-contrast tool.
14.
15.
Darkened the photo slightly using the levels tool.
16.
Selected the white point to change the white balance into something more natural (which is a way to change the white balance I found out about today, it can prove to be quite useful in the future as it works surprisingly well). Also used the levels tool to slightly increase the contrast.
17.
Ljungberg. Brightened the photo slightly using the levels tool and the brightness-contrast tool.
18.
Ljungberg. Brightened the photo slightly using the levels tool. Also decreased the contrast slightly using the brightness-contrast tool. Finally I rotated the photo slightly and cropped it.
19.
Ljungberg. Sharpened the photo slightly using unsharp mask.
20.
Österån. Increased the contrast slightly using the brightness-contrast tool.
Also sharpened the photo slightly using unsharp mask.
21.
Starrike. Rotated the photo slightly and cropped it.
22.
Increased the contrast slightly for the non-sky parts using the brightness-contrast tool.
23.
Rotated the photo slightly and cropped it. Also used the hue restorer plug-in to remove the cyan-ish sky color. Then I darkened the sky slightly using the levels tool. Finally, for the non-sky parts I increased the contrast slightly using the brightness-contrast tool and increased the sharpness slightly using unsharp mask.
24.
Increased the contrast slightly for the non-sky parts using the brightness-contrast tool.
25.
Increased the contrast slightly using the brightness-contrast tool.
26.
Brightened the photo slightly using the levels tool.
27.
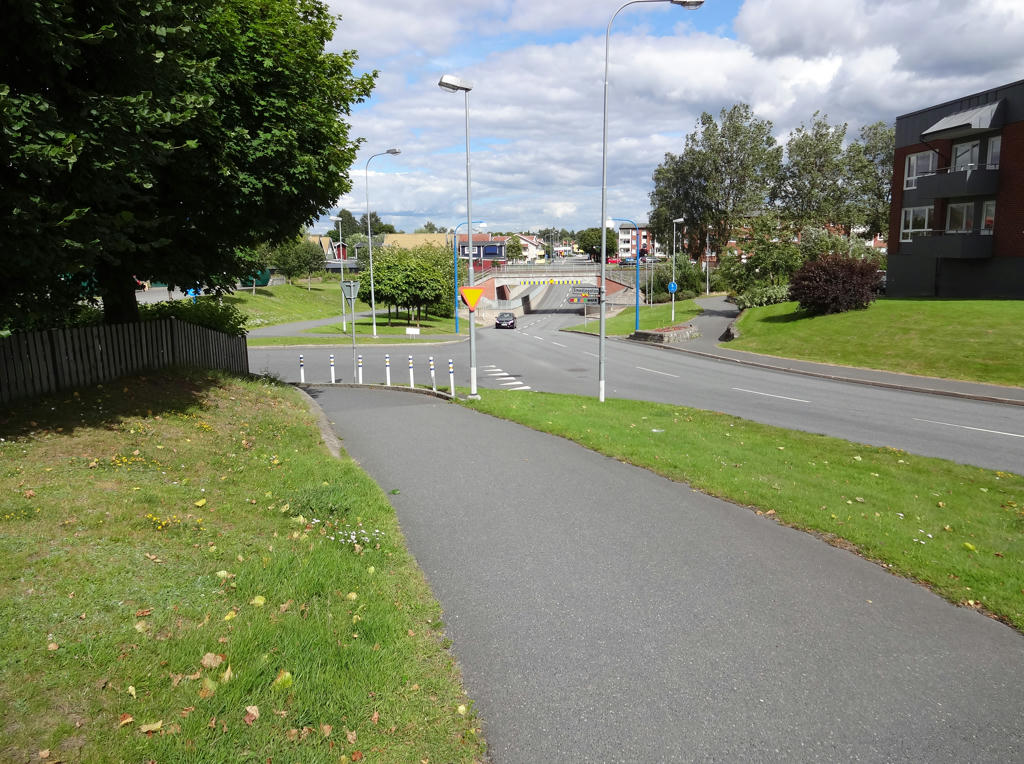
In Skillingaryd. Rotated the photo slightly and cropped it.
Inga kommentarer:
Skicka en kommentar